Assembly Instructions
We recommend that the BloomBox be installed seasonally during the months of November-Feburary or to coincide with the seasonal rains in California.
Most California native plants germinate during the early spring, die back in summer, and remain dormant until late winter.
For more questions about care for the BloomBox, feel free to reach us via out contact form.
Kit of Parts
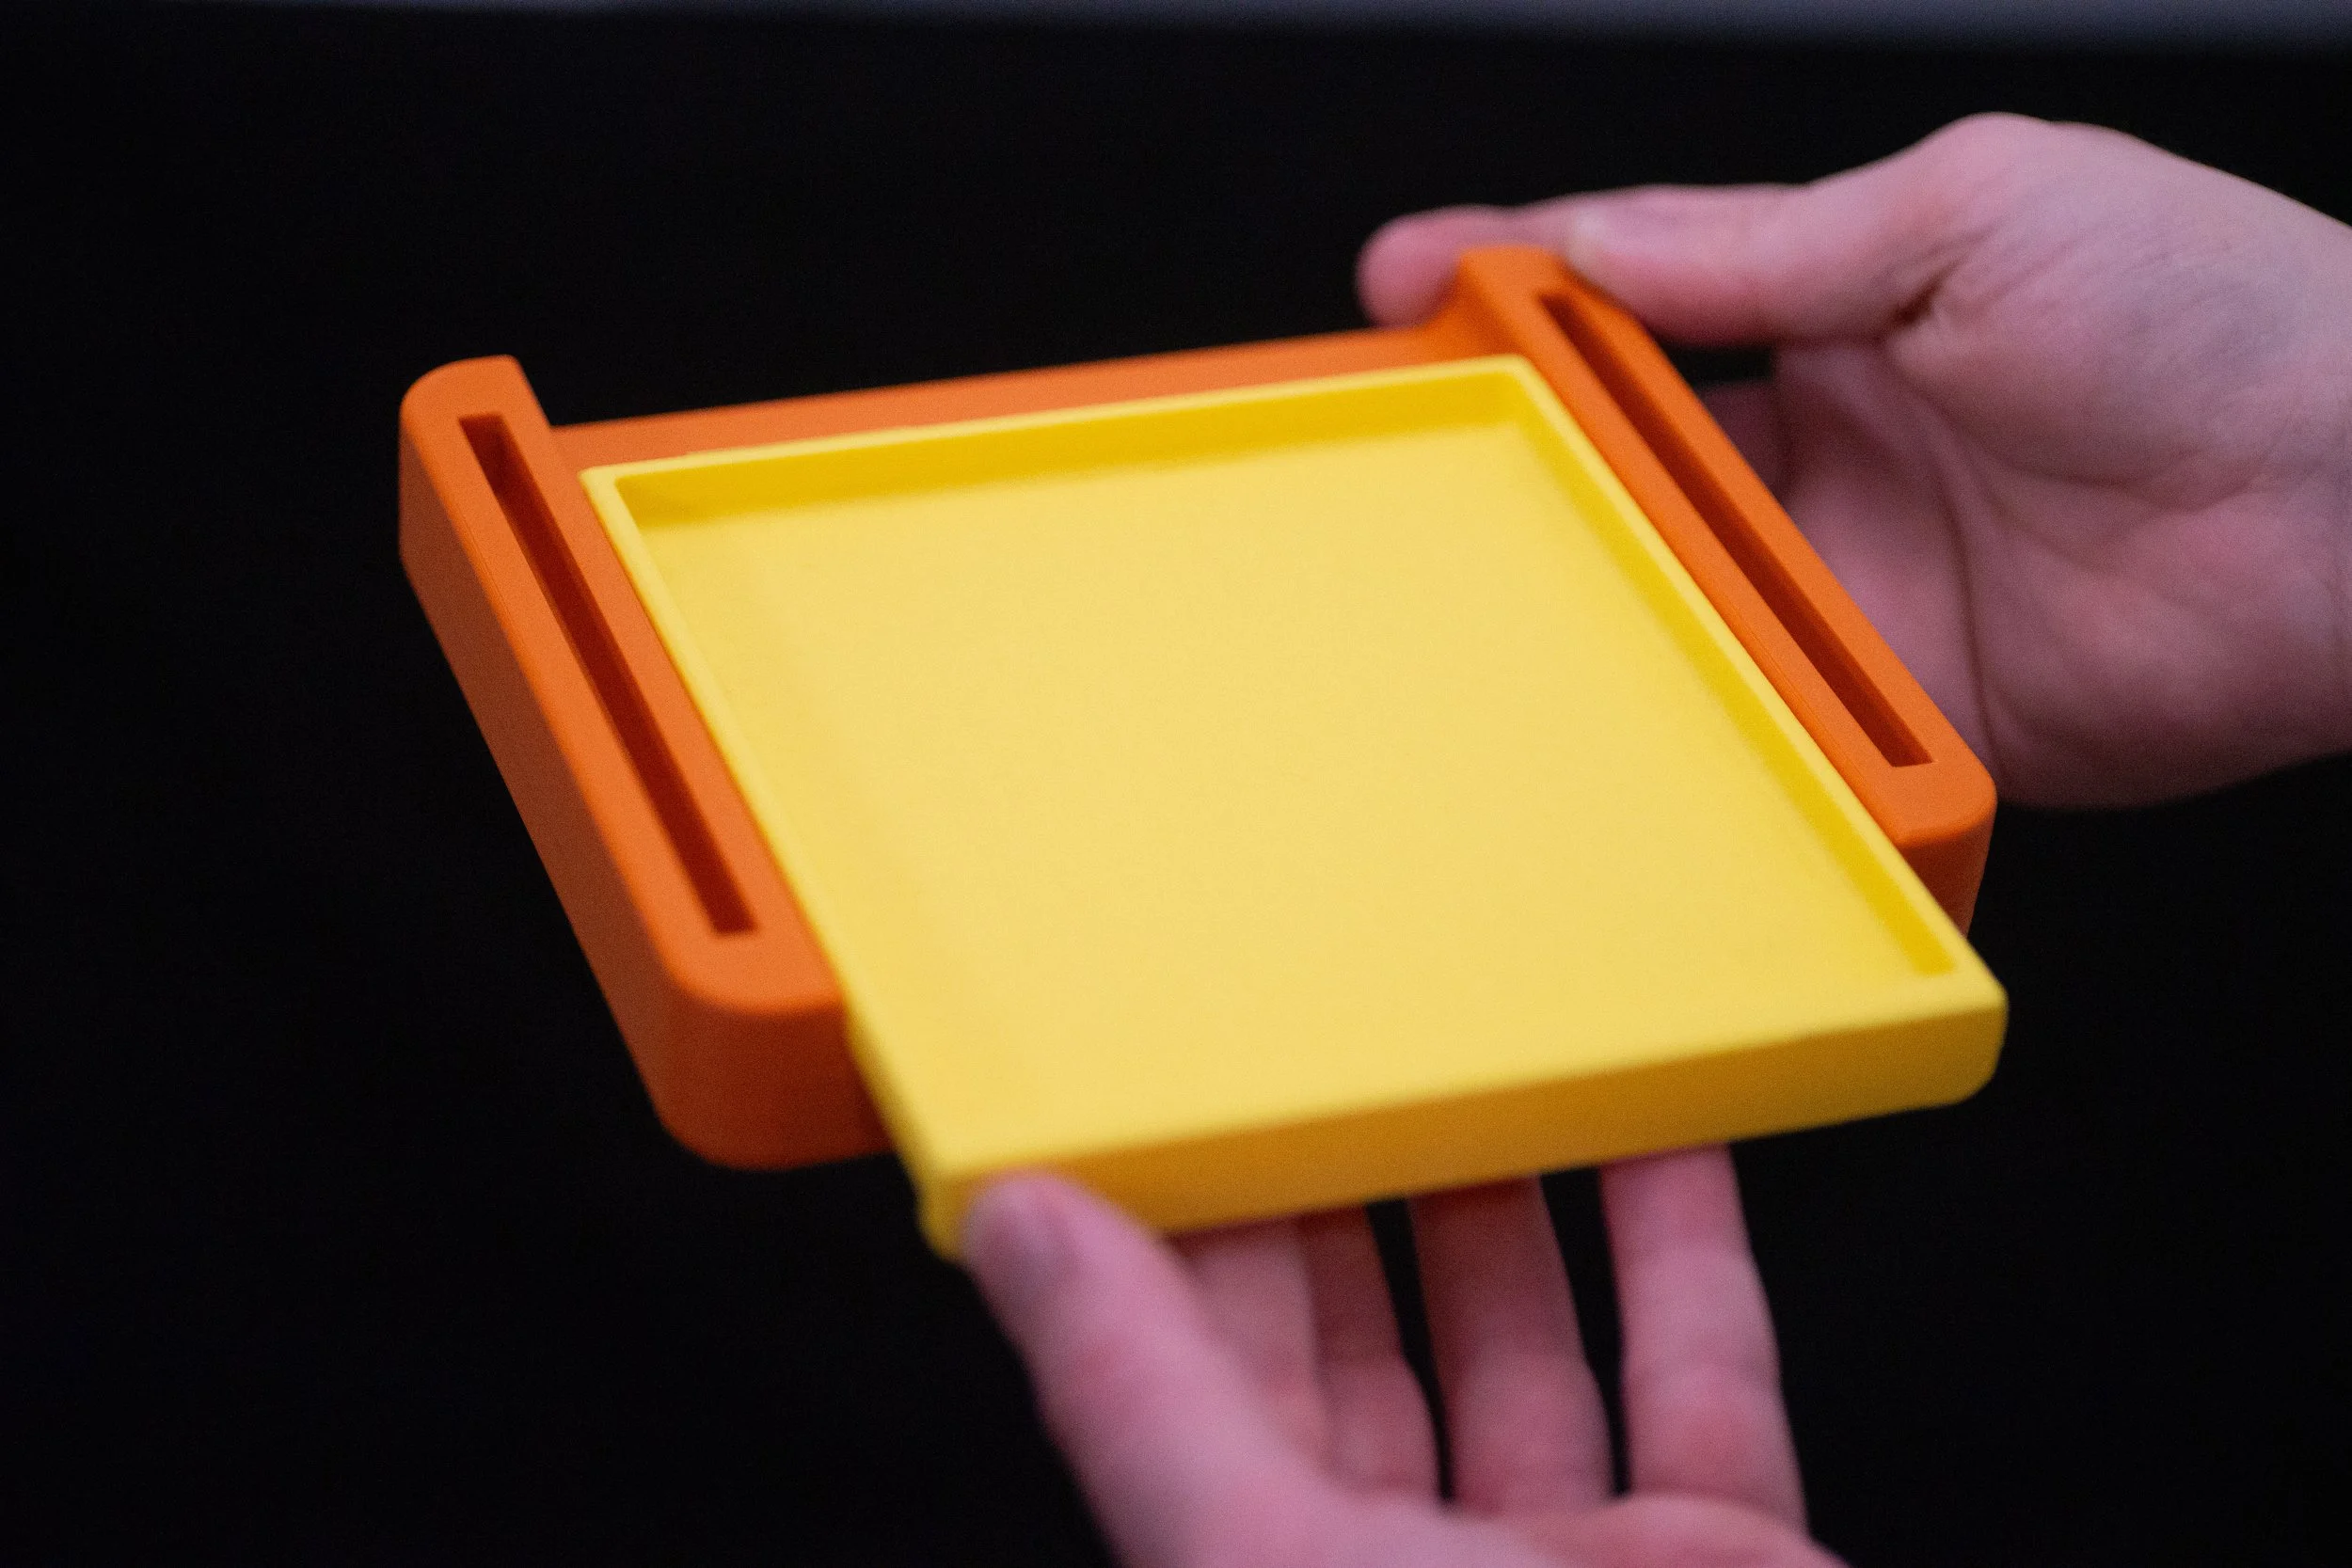
Table Top Spill Tray
Table Top Legs
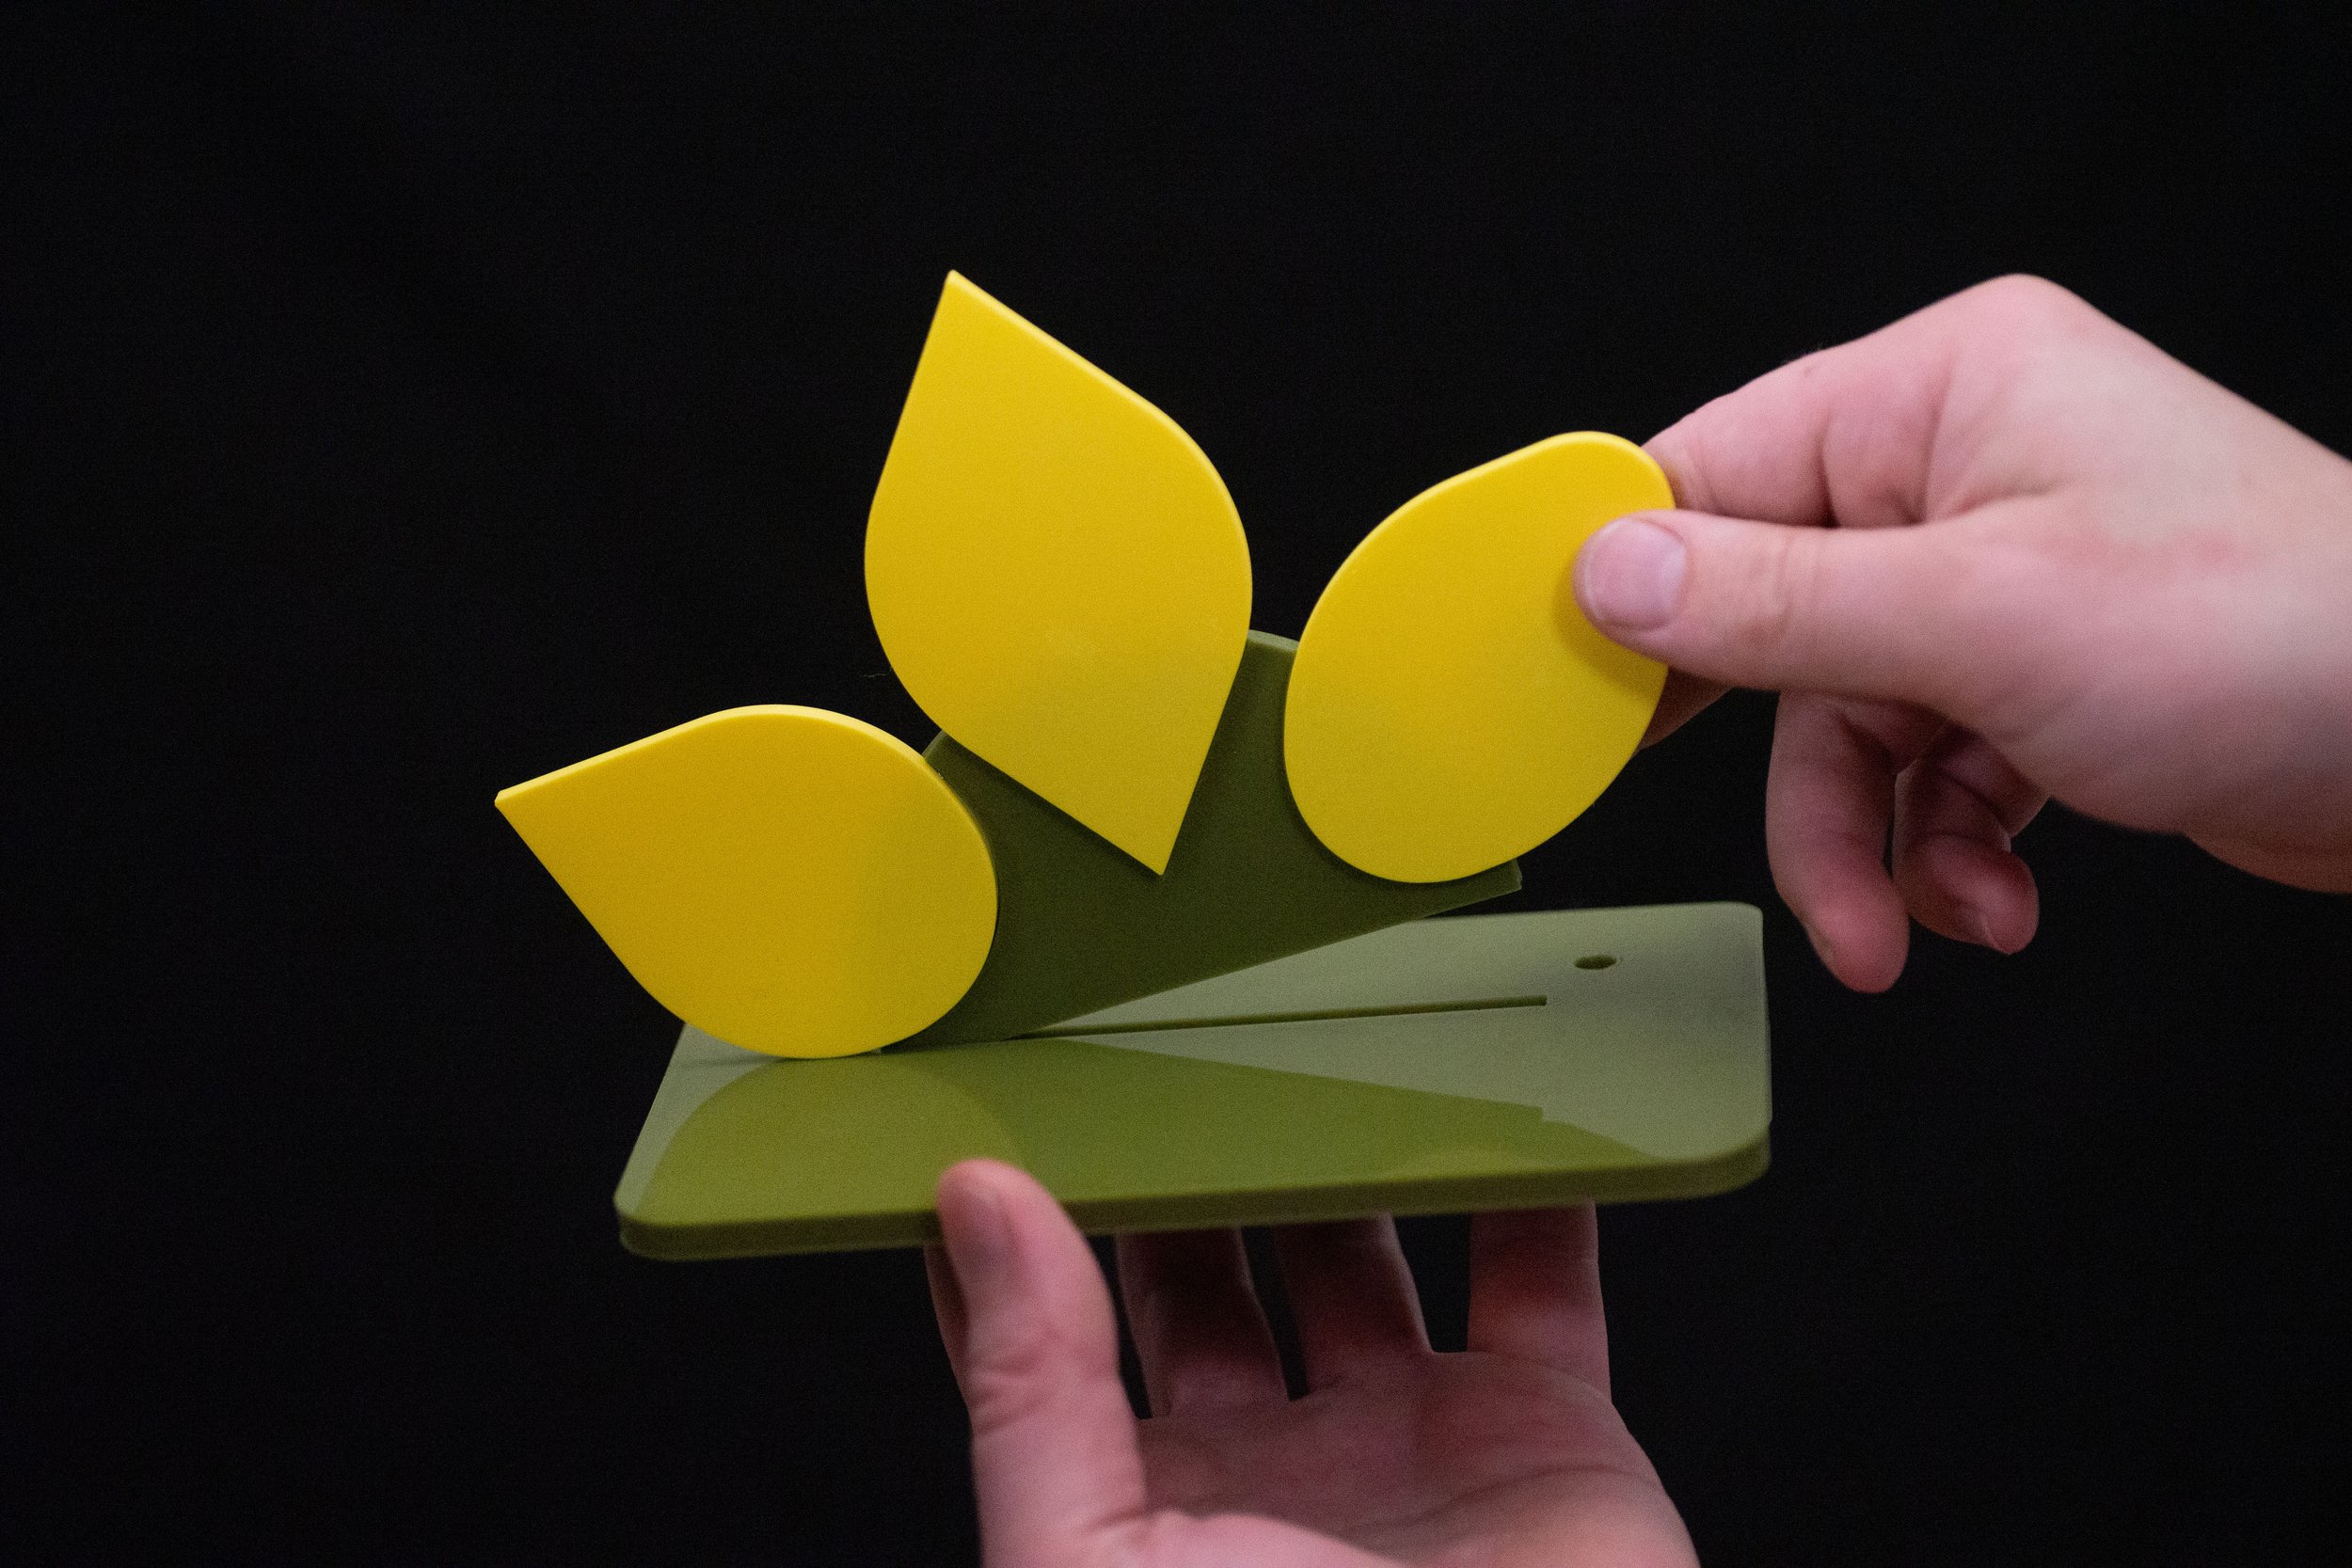
Logo
Lid
Main Body
Hanging Arms and Tray
Tie-Down Strap
*Model has been changedFunnel
Seed Packets
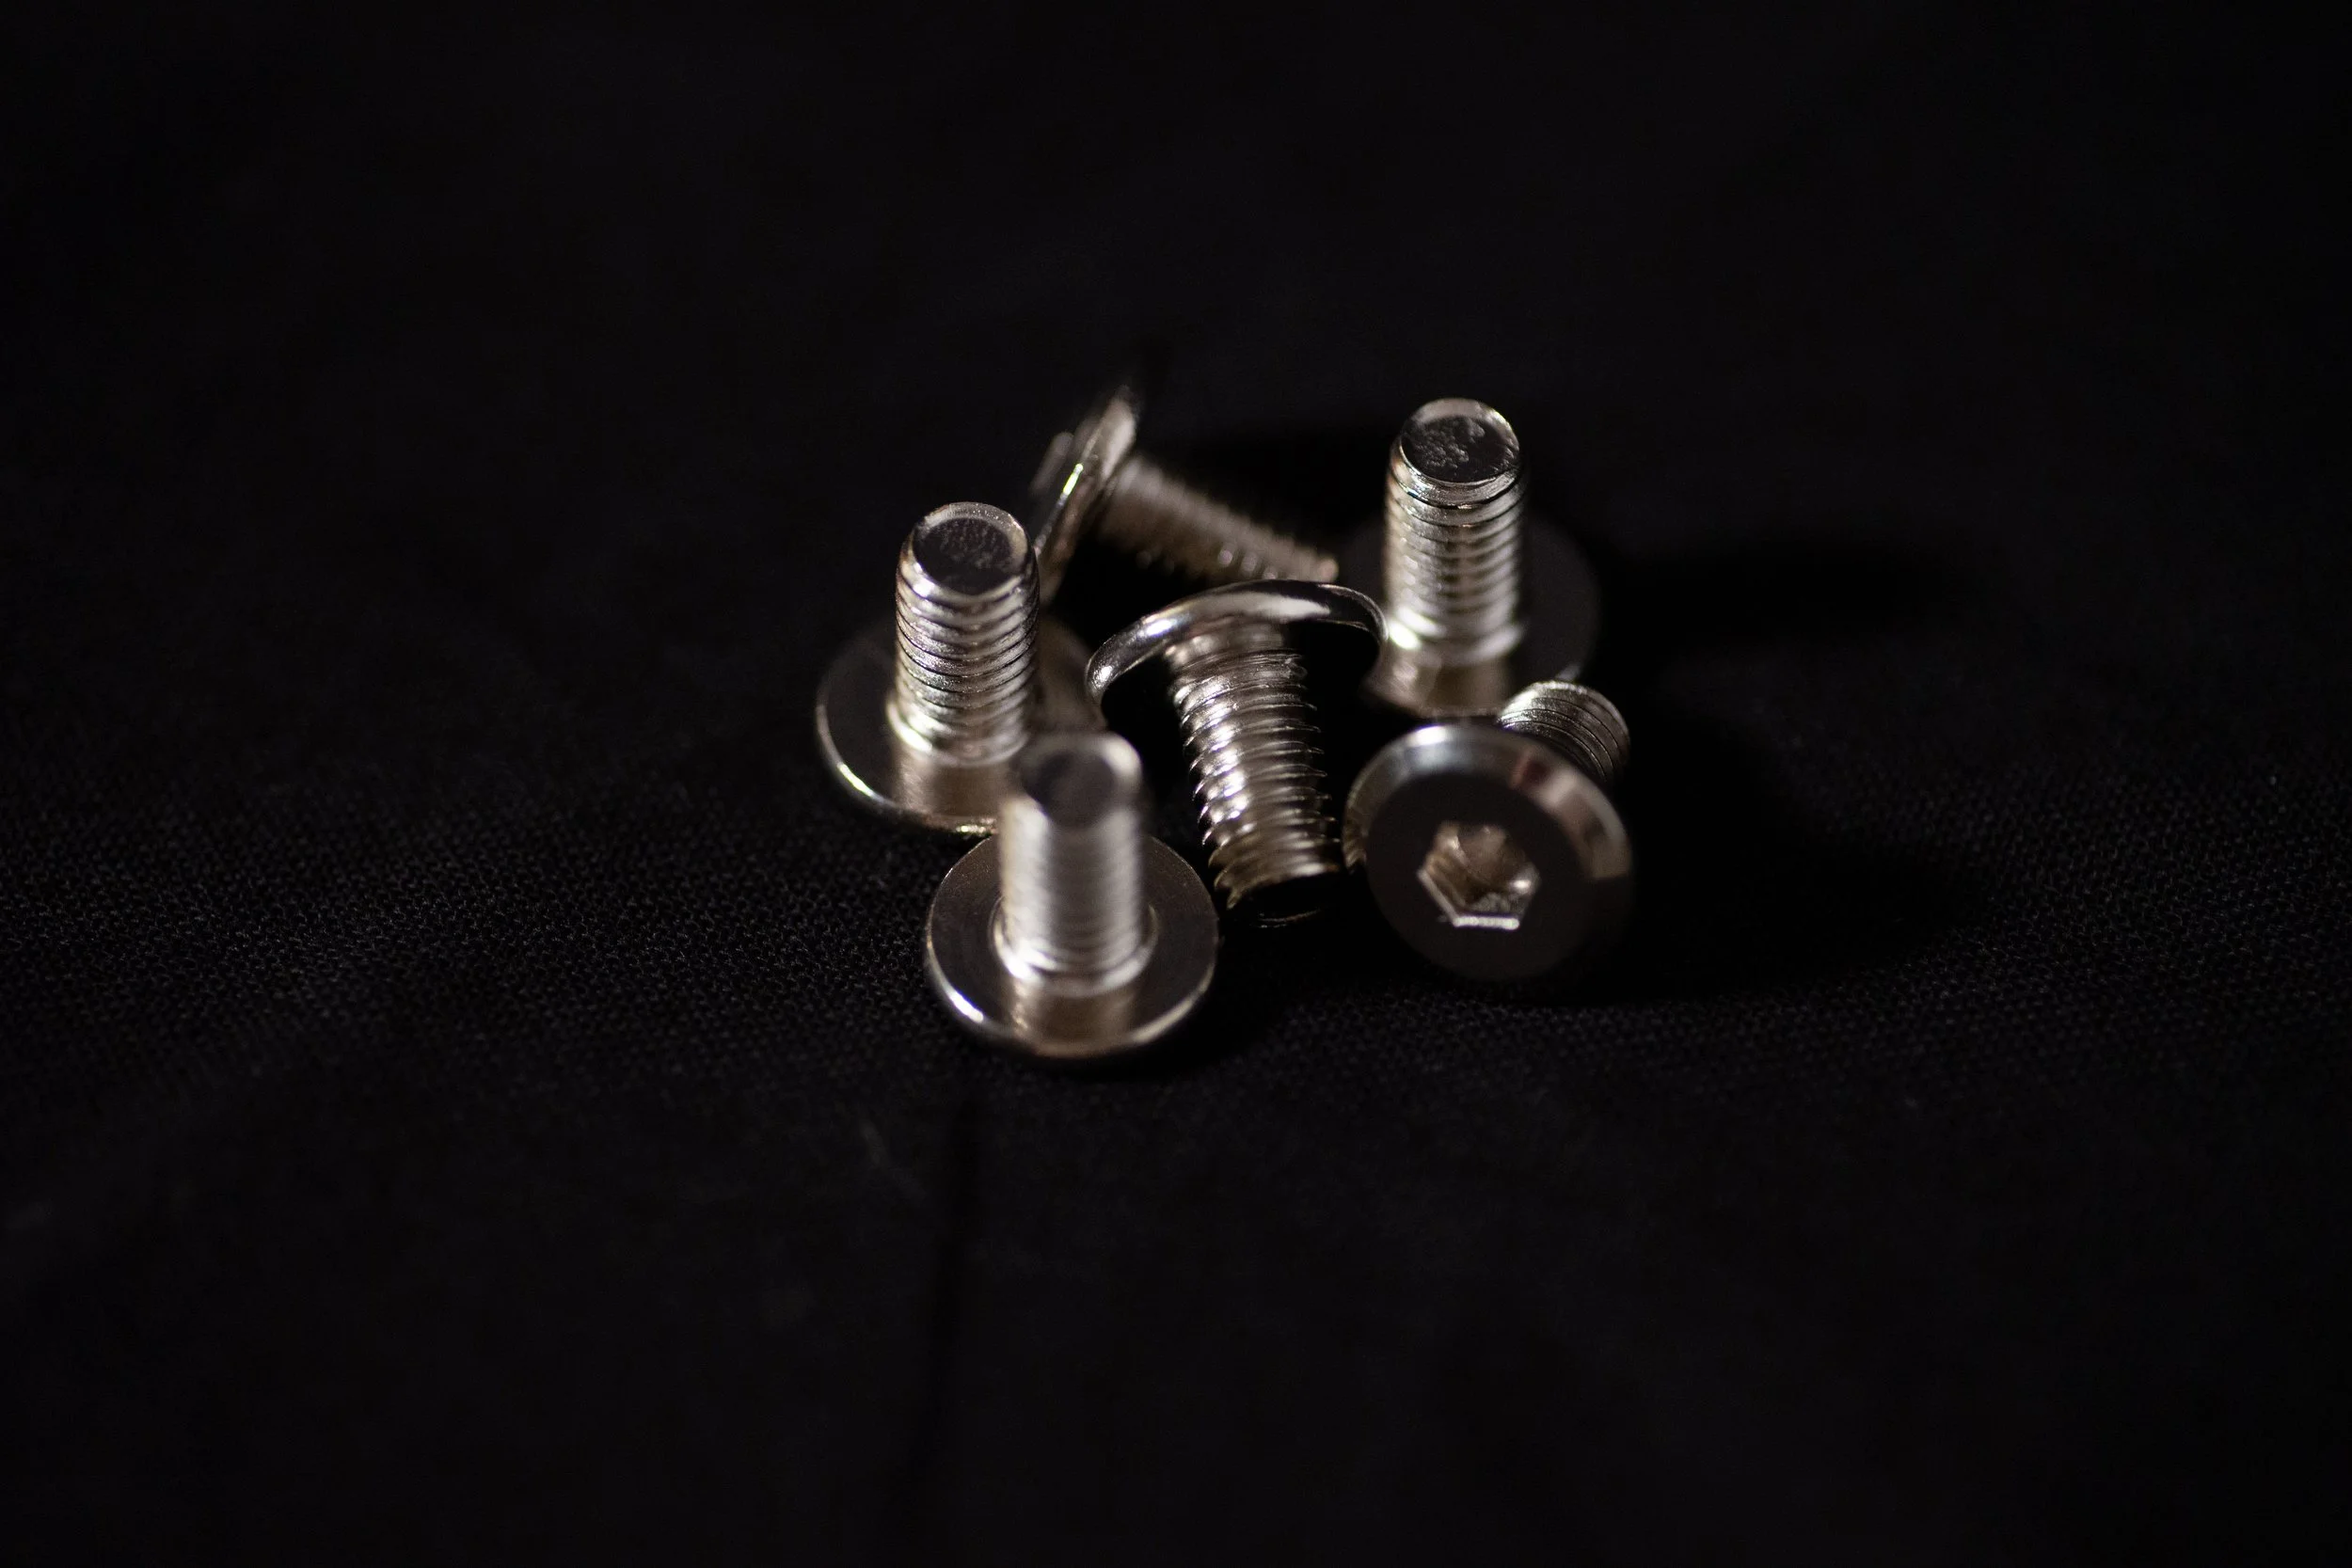
M6 Hex Screws x6
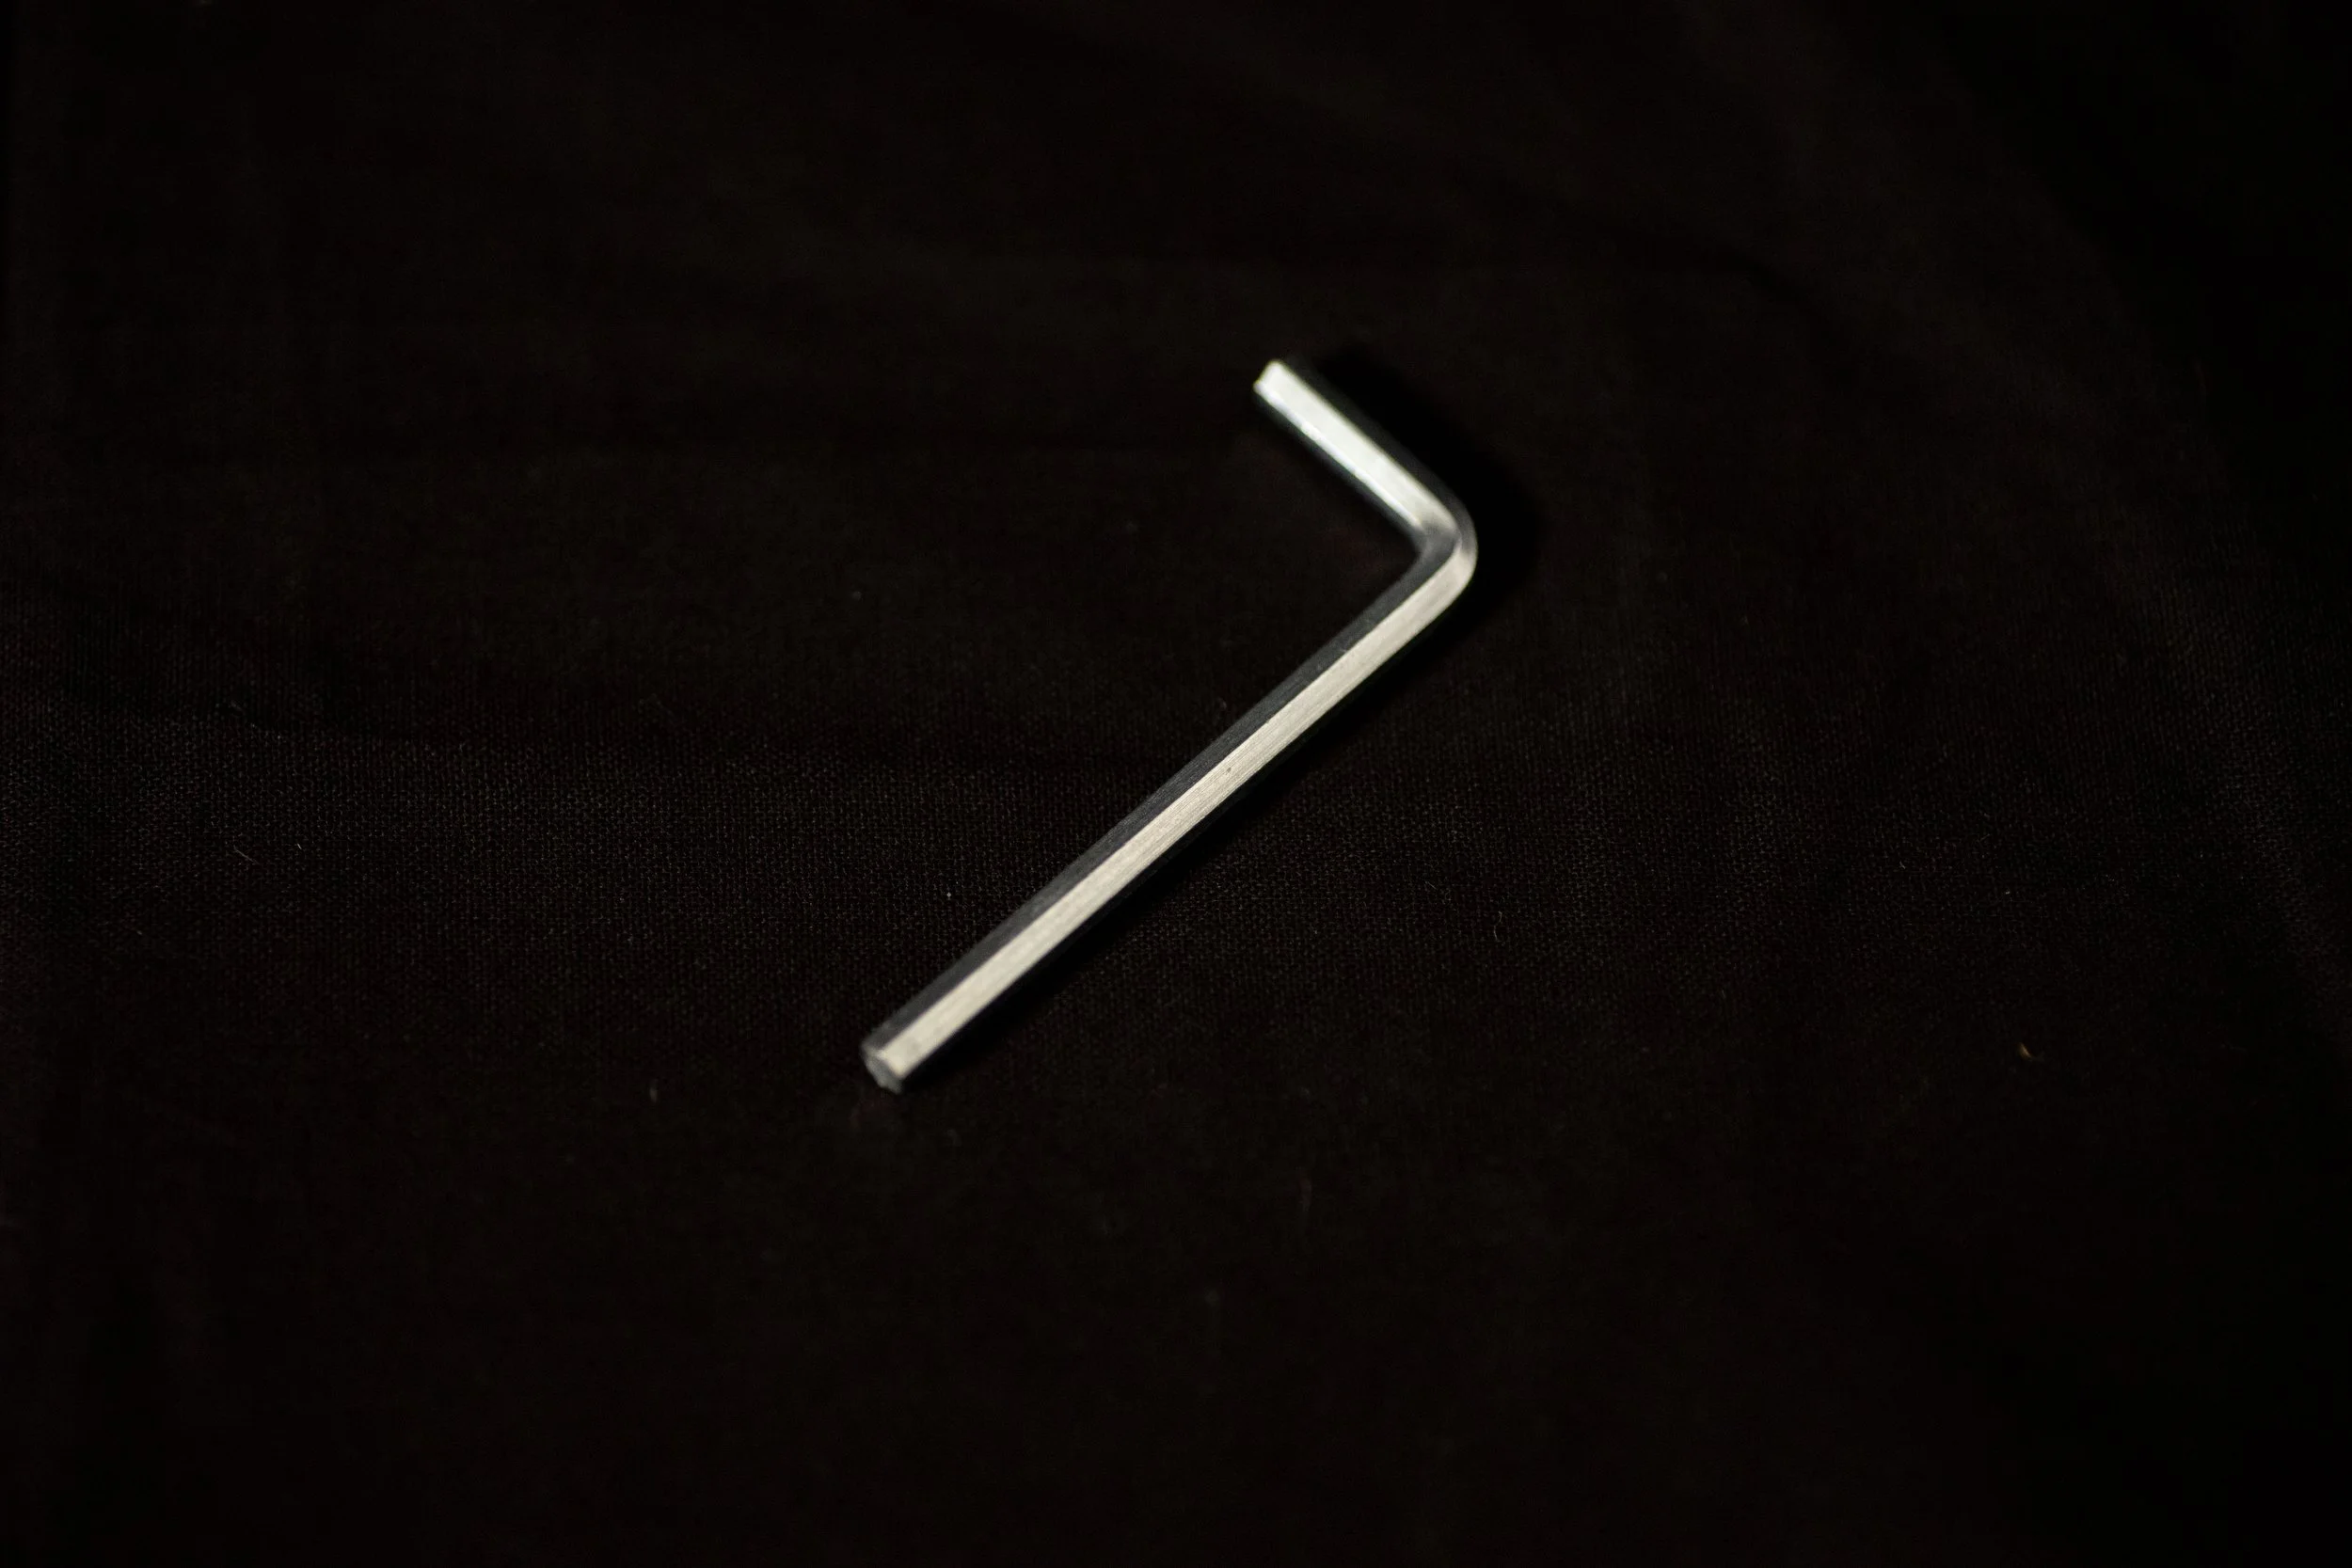
Allen Key

BloomBox Mini (Tabletop)
STEP 01
Press-fit the logo into the slot of the lid.
Use glue to secure in place if needed.
Set aside.
STEP 04
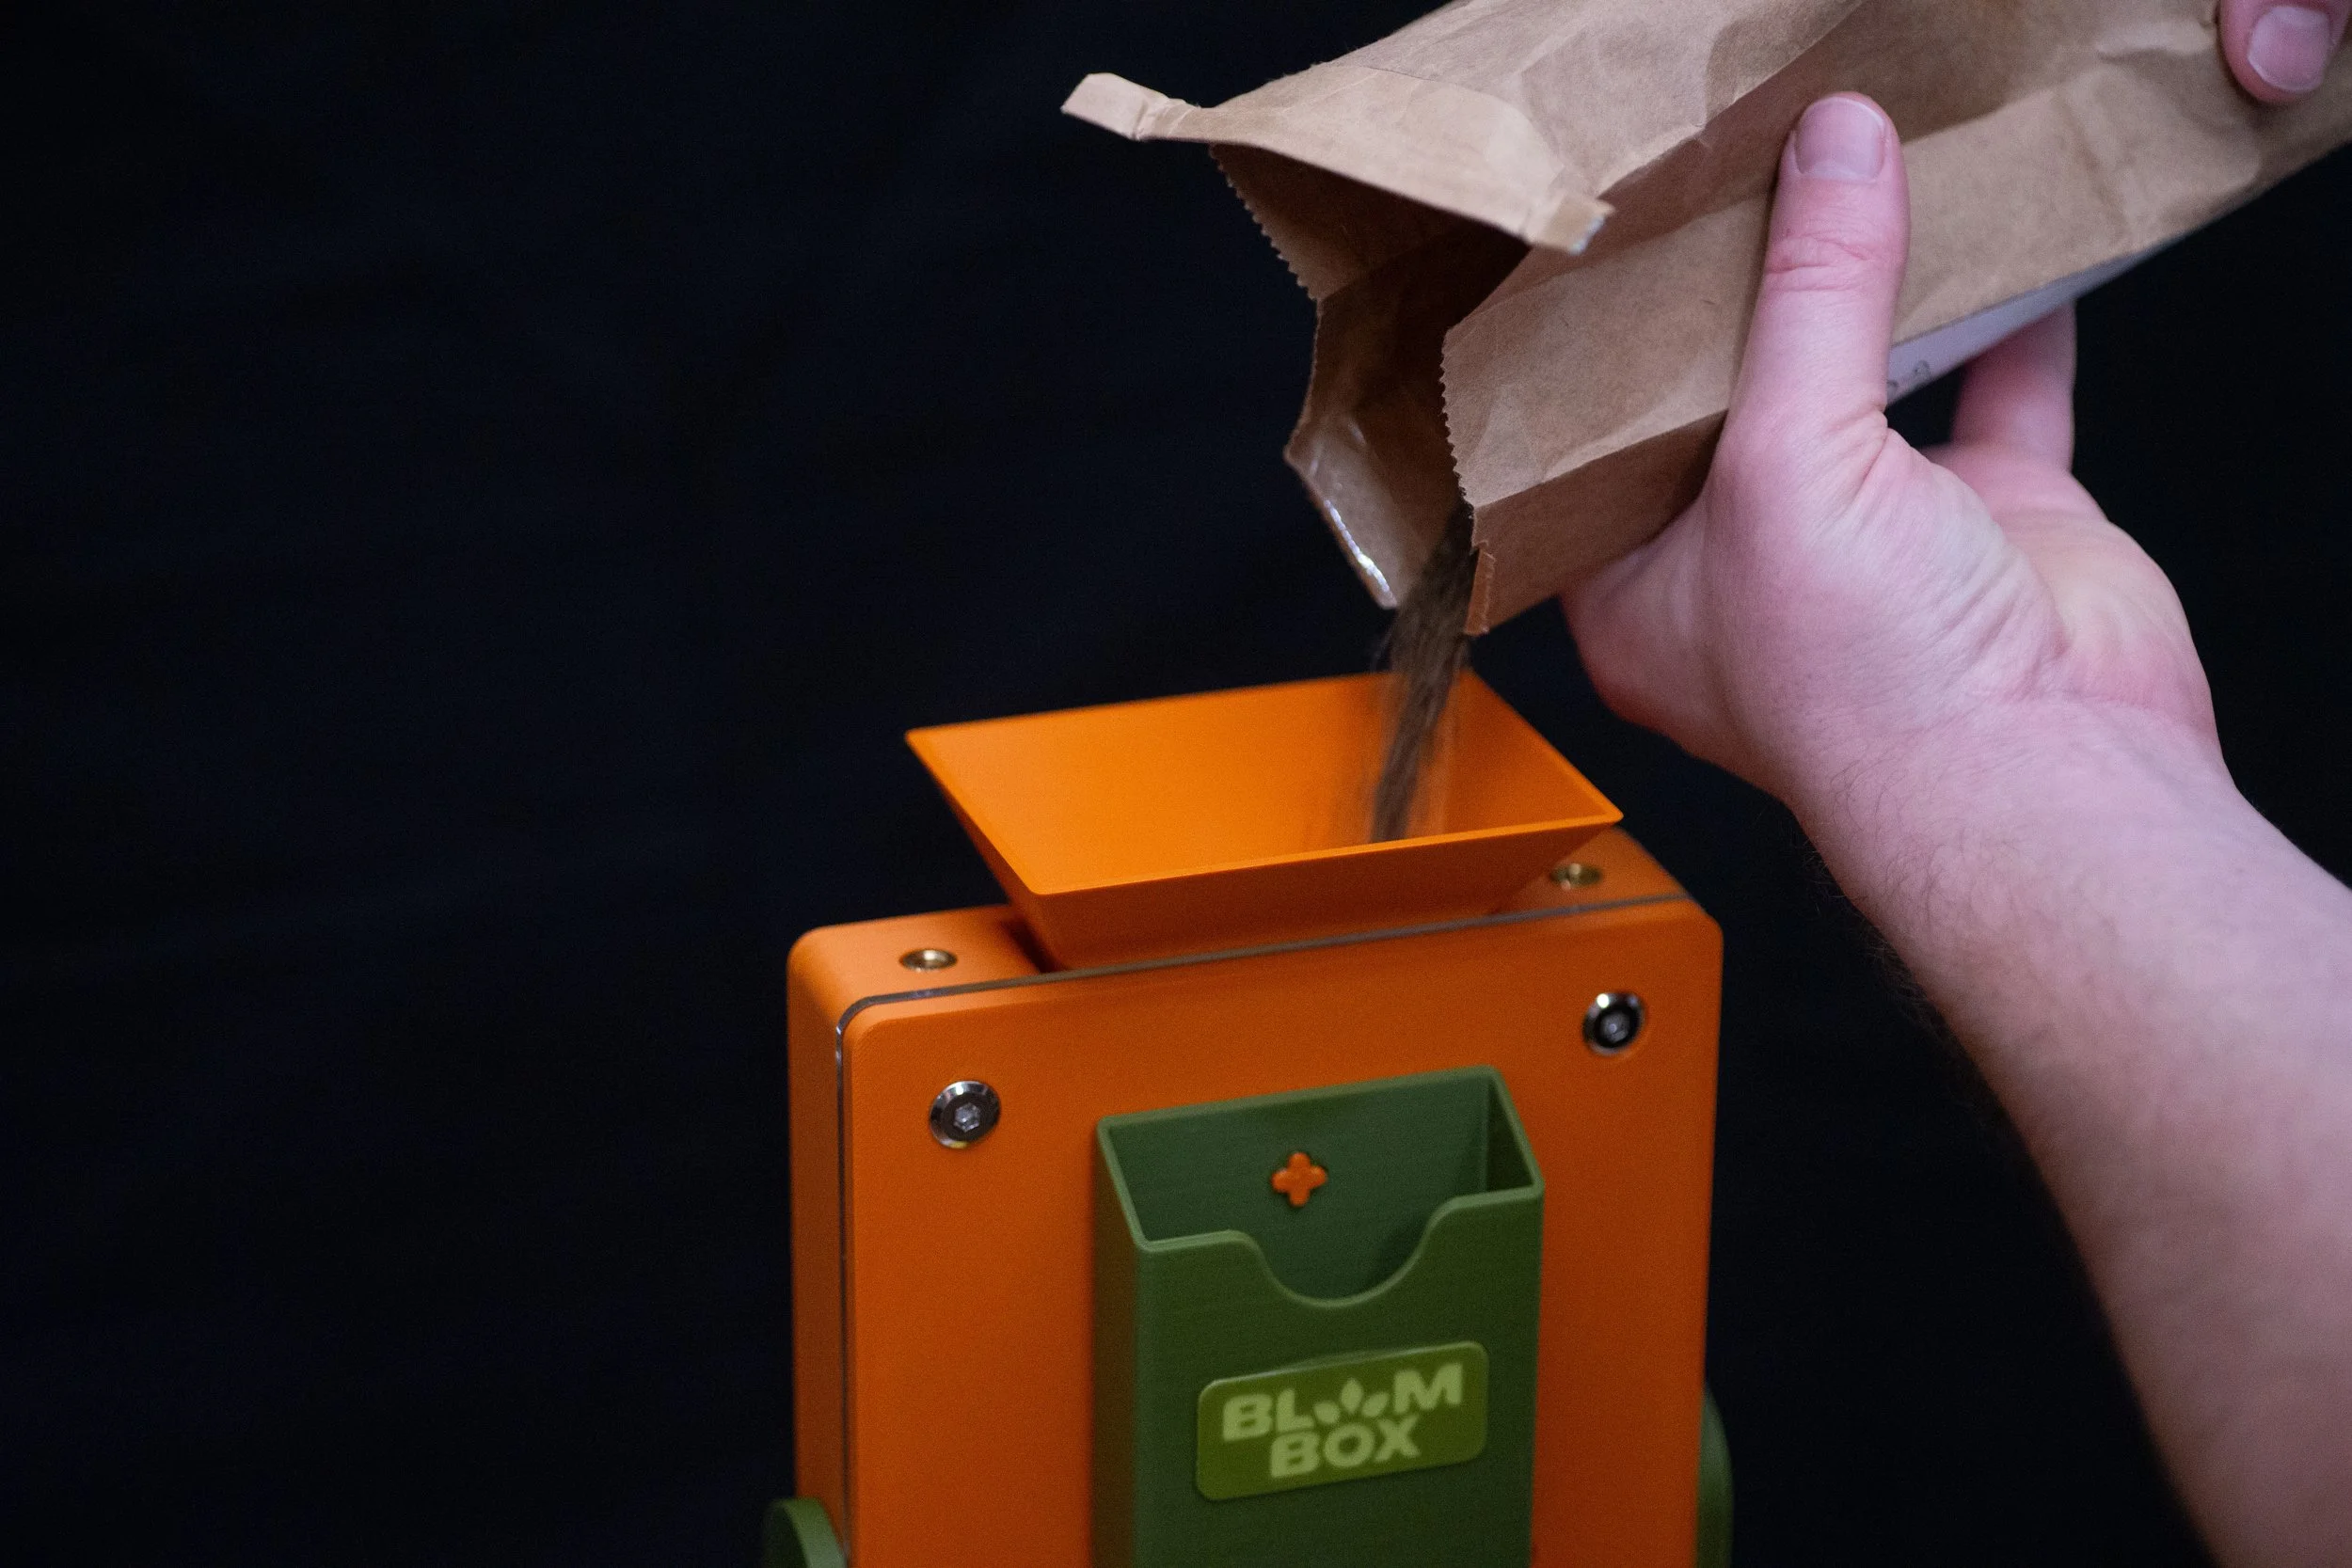
Use the funnel provided to guide the seeds cleanly into the compartment.

NOTE:
Seed tray is removable from the base for easier clean up.
STEP 01
Press-fit the logo into the slot of the lid.
Use glue to secure in place if needed.
Set aside.
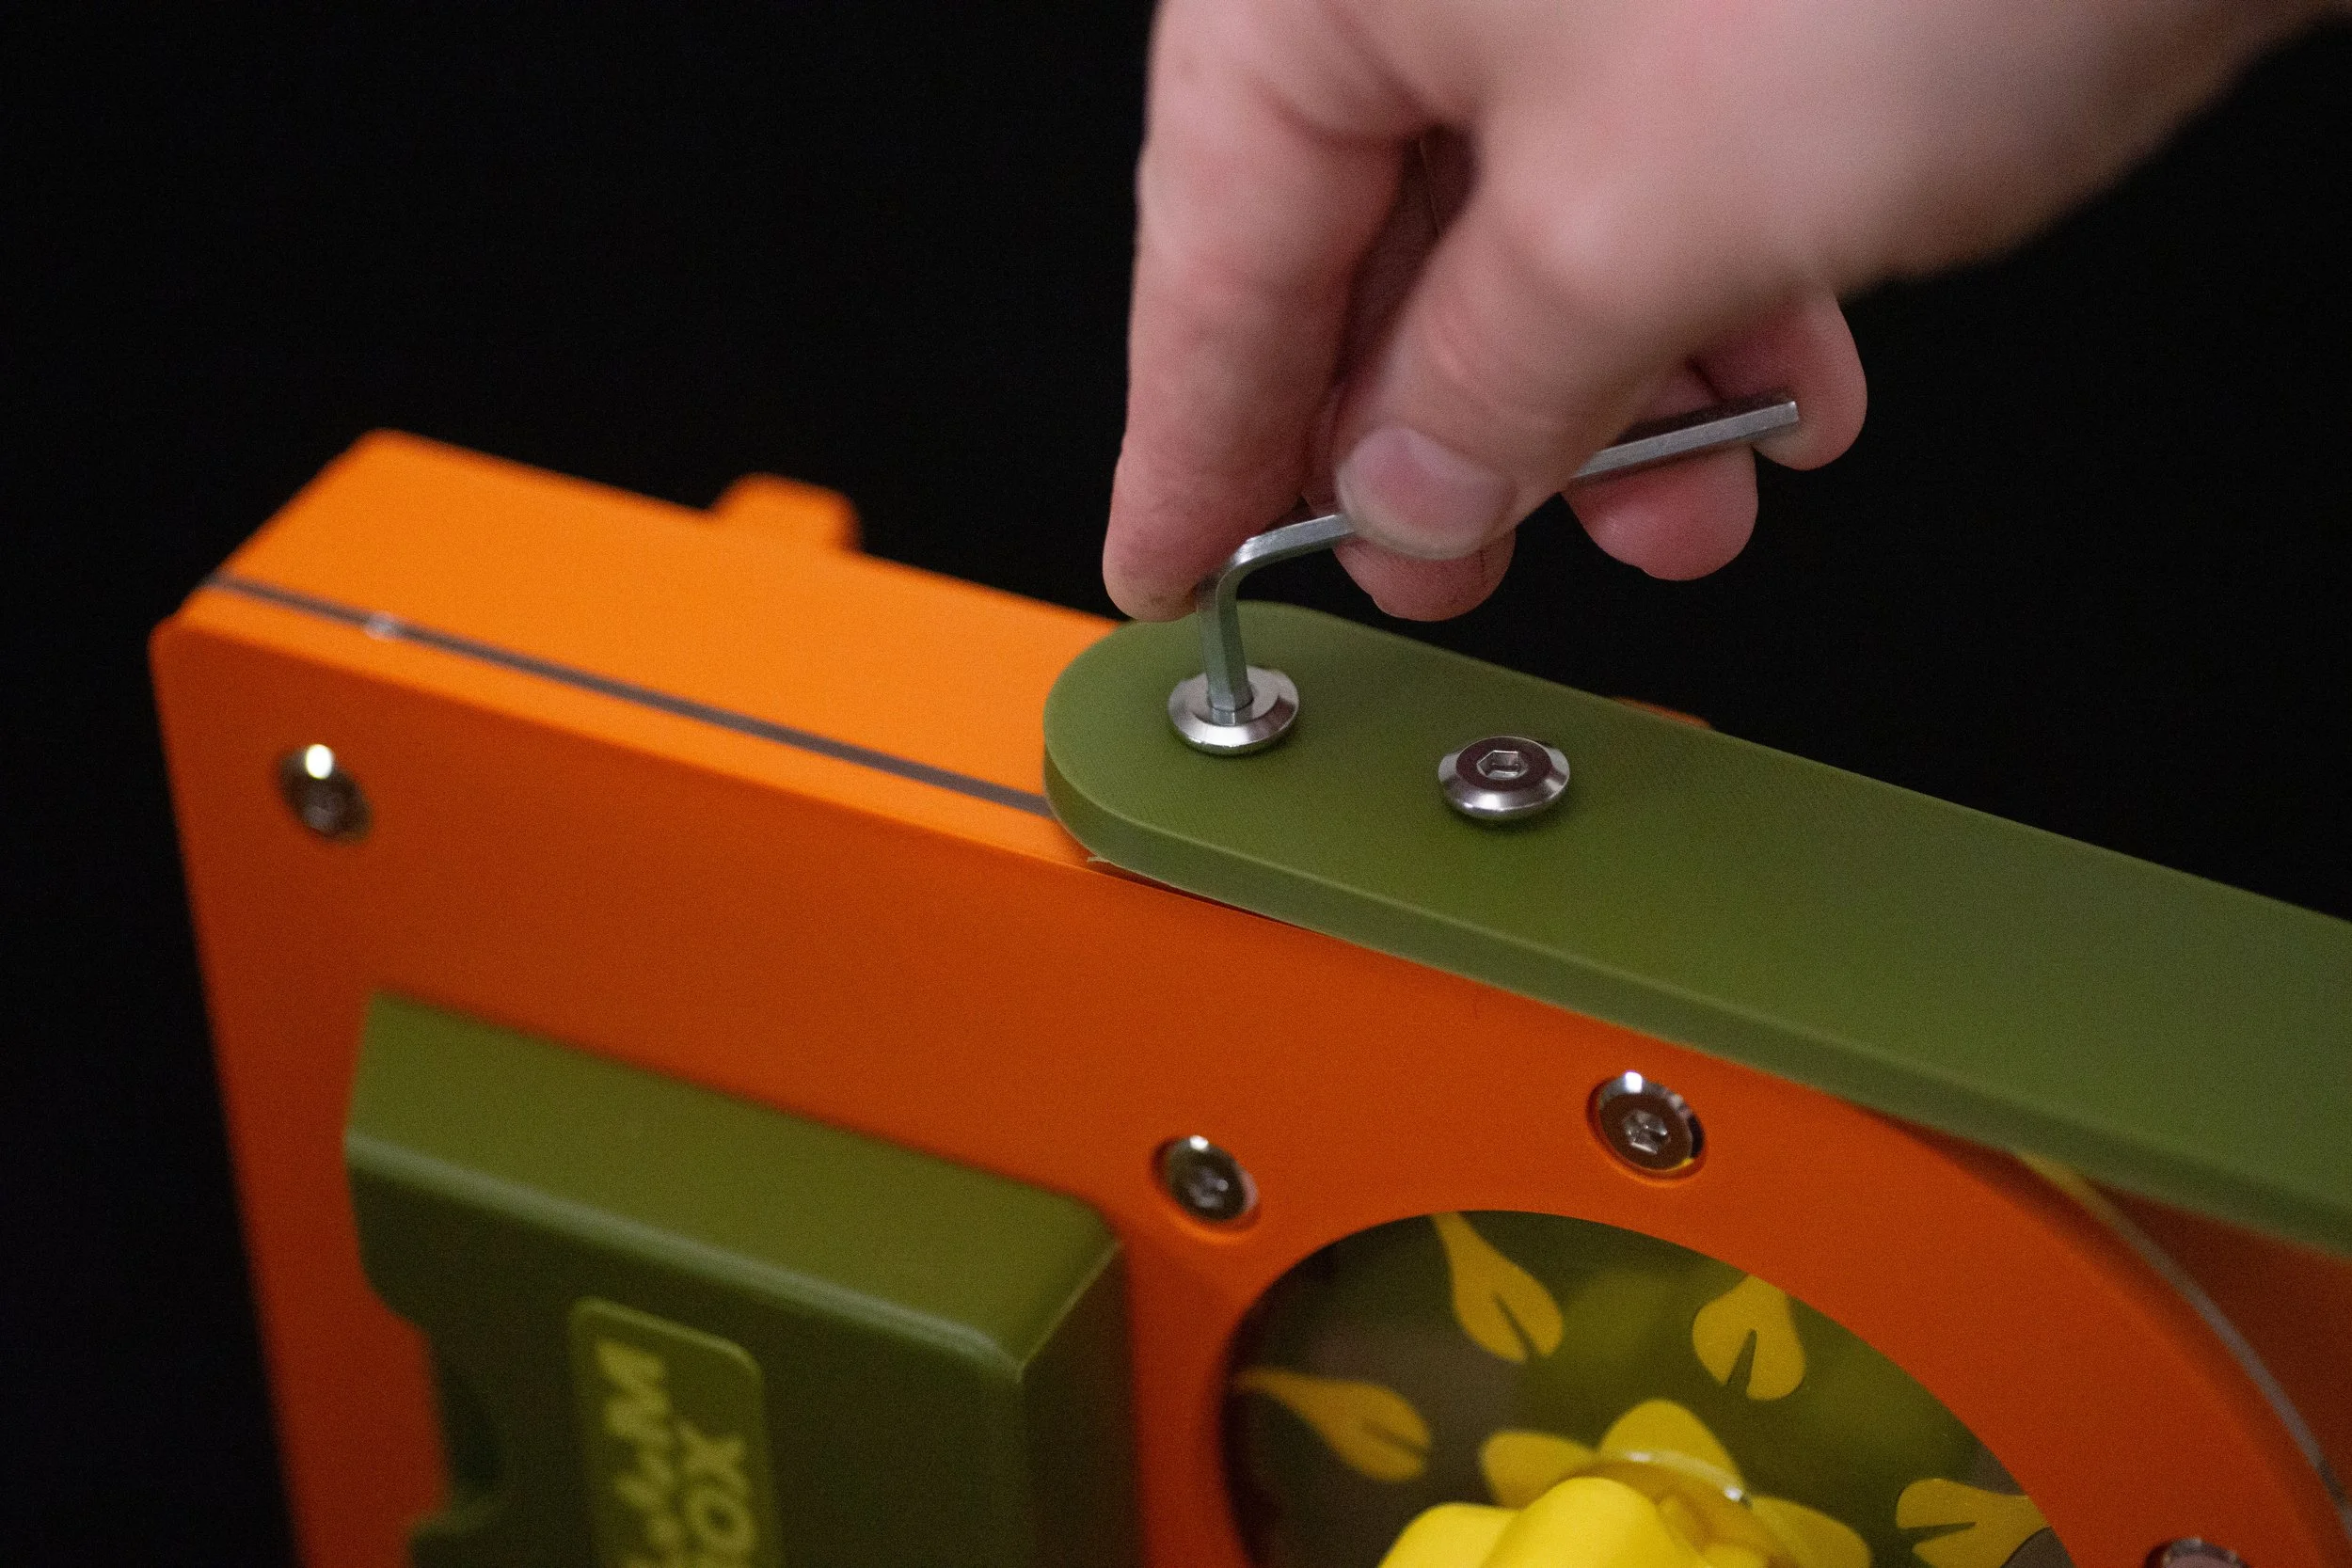
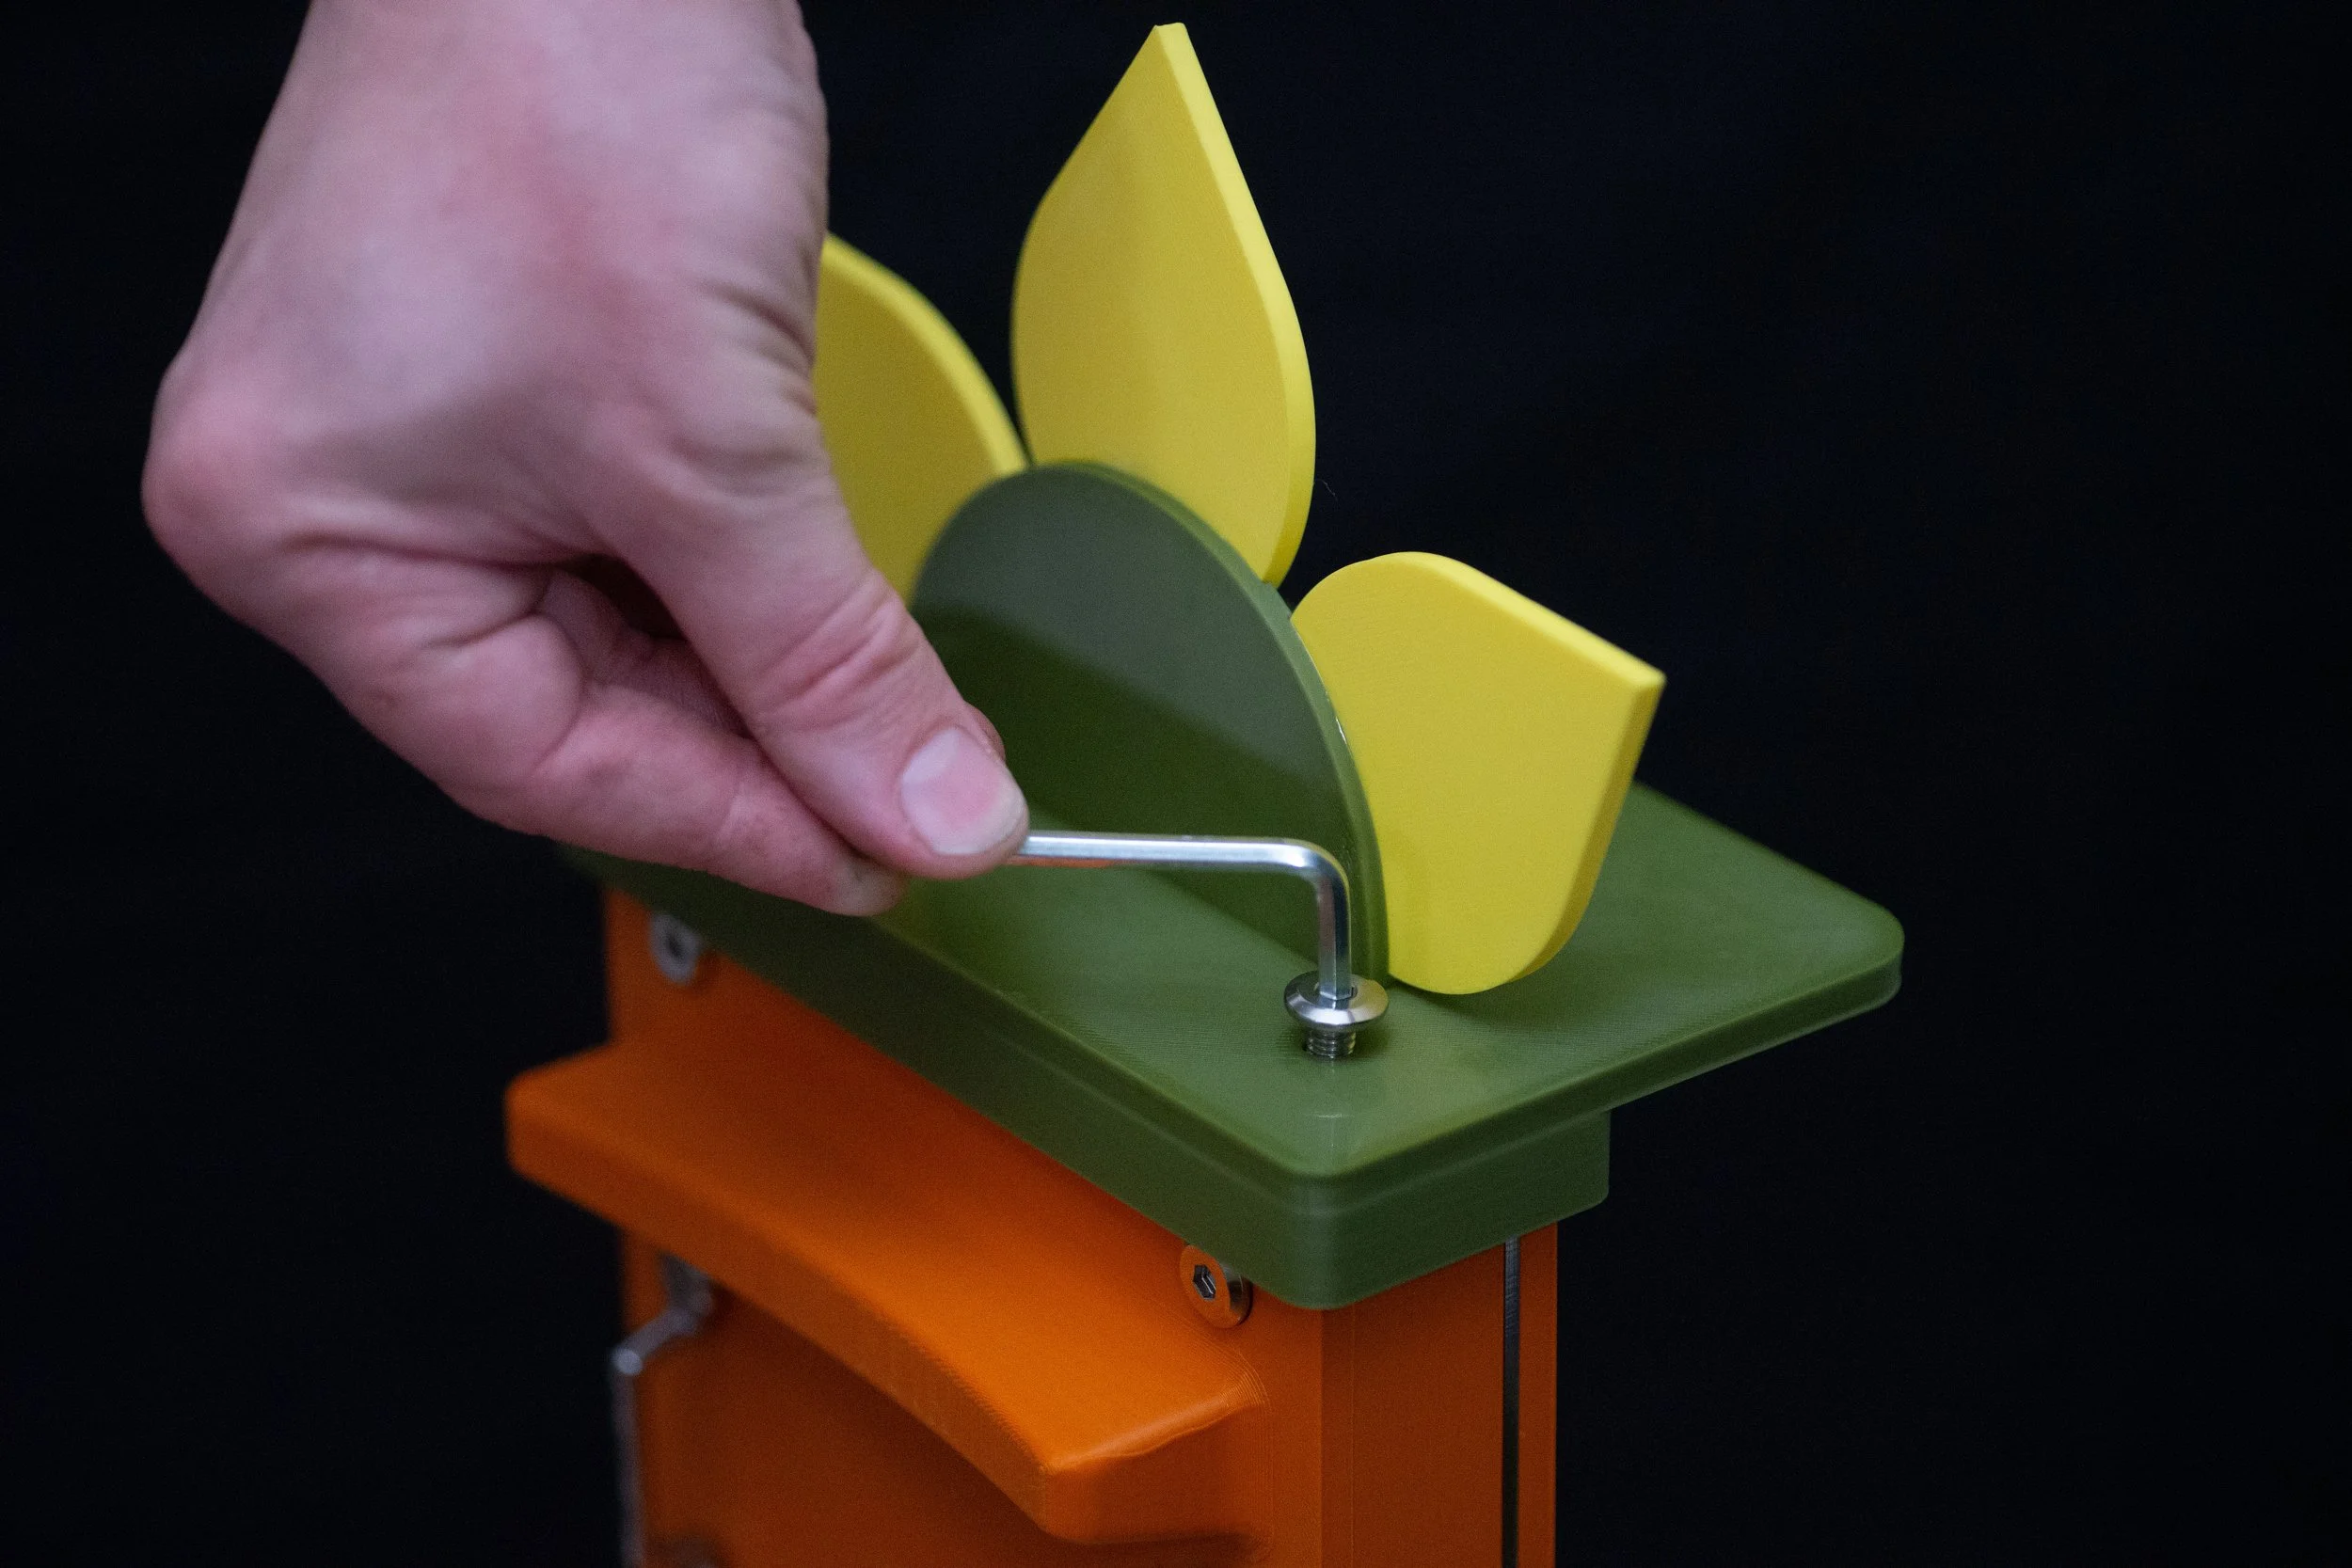
STEP 02
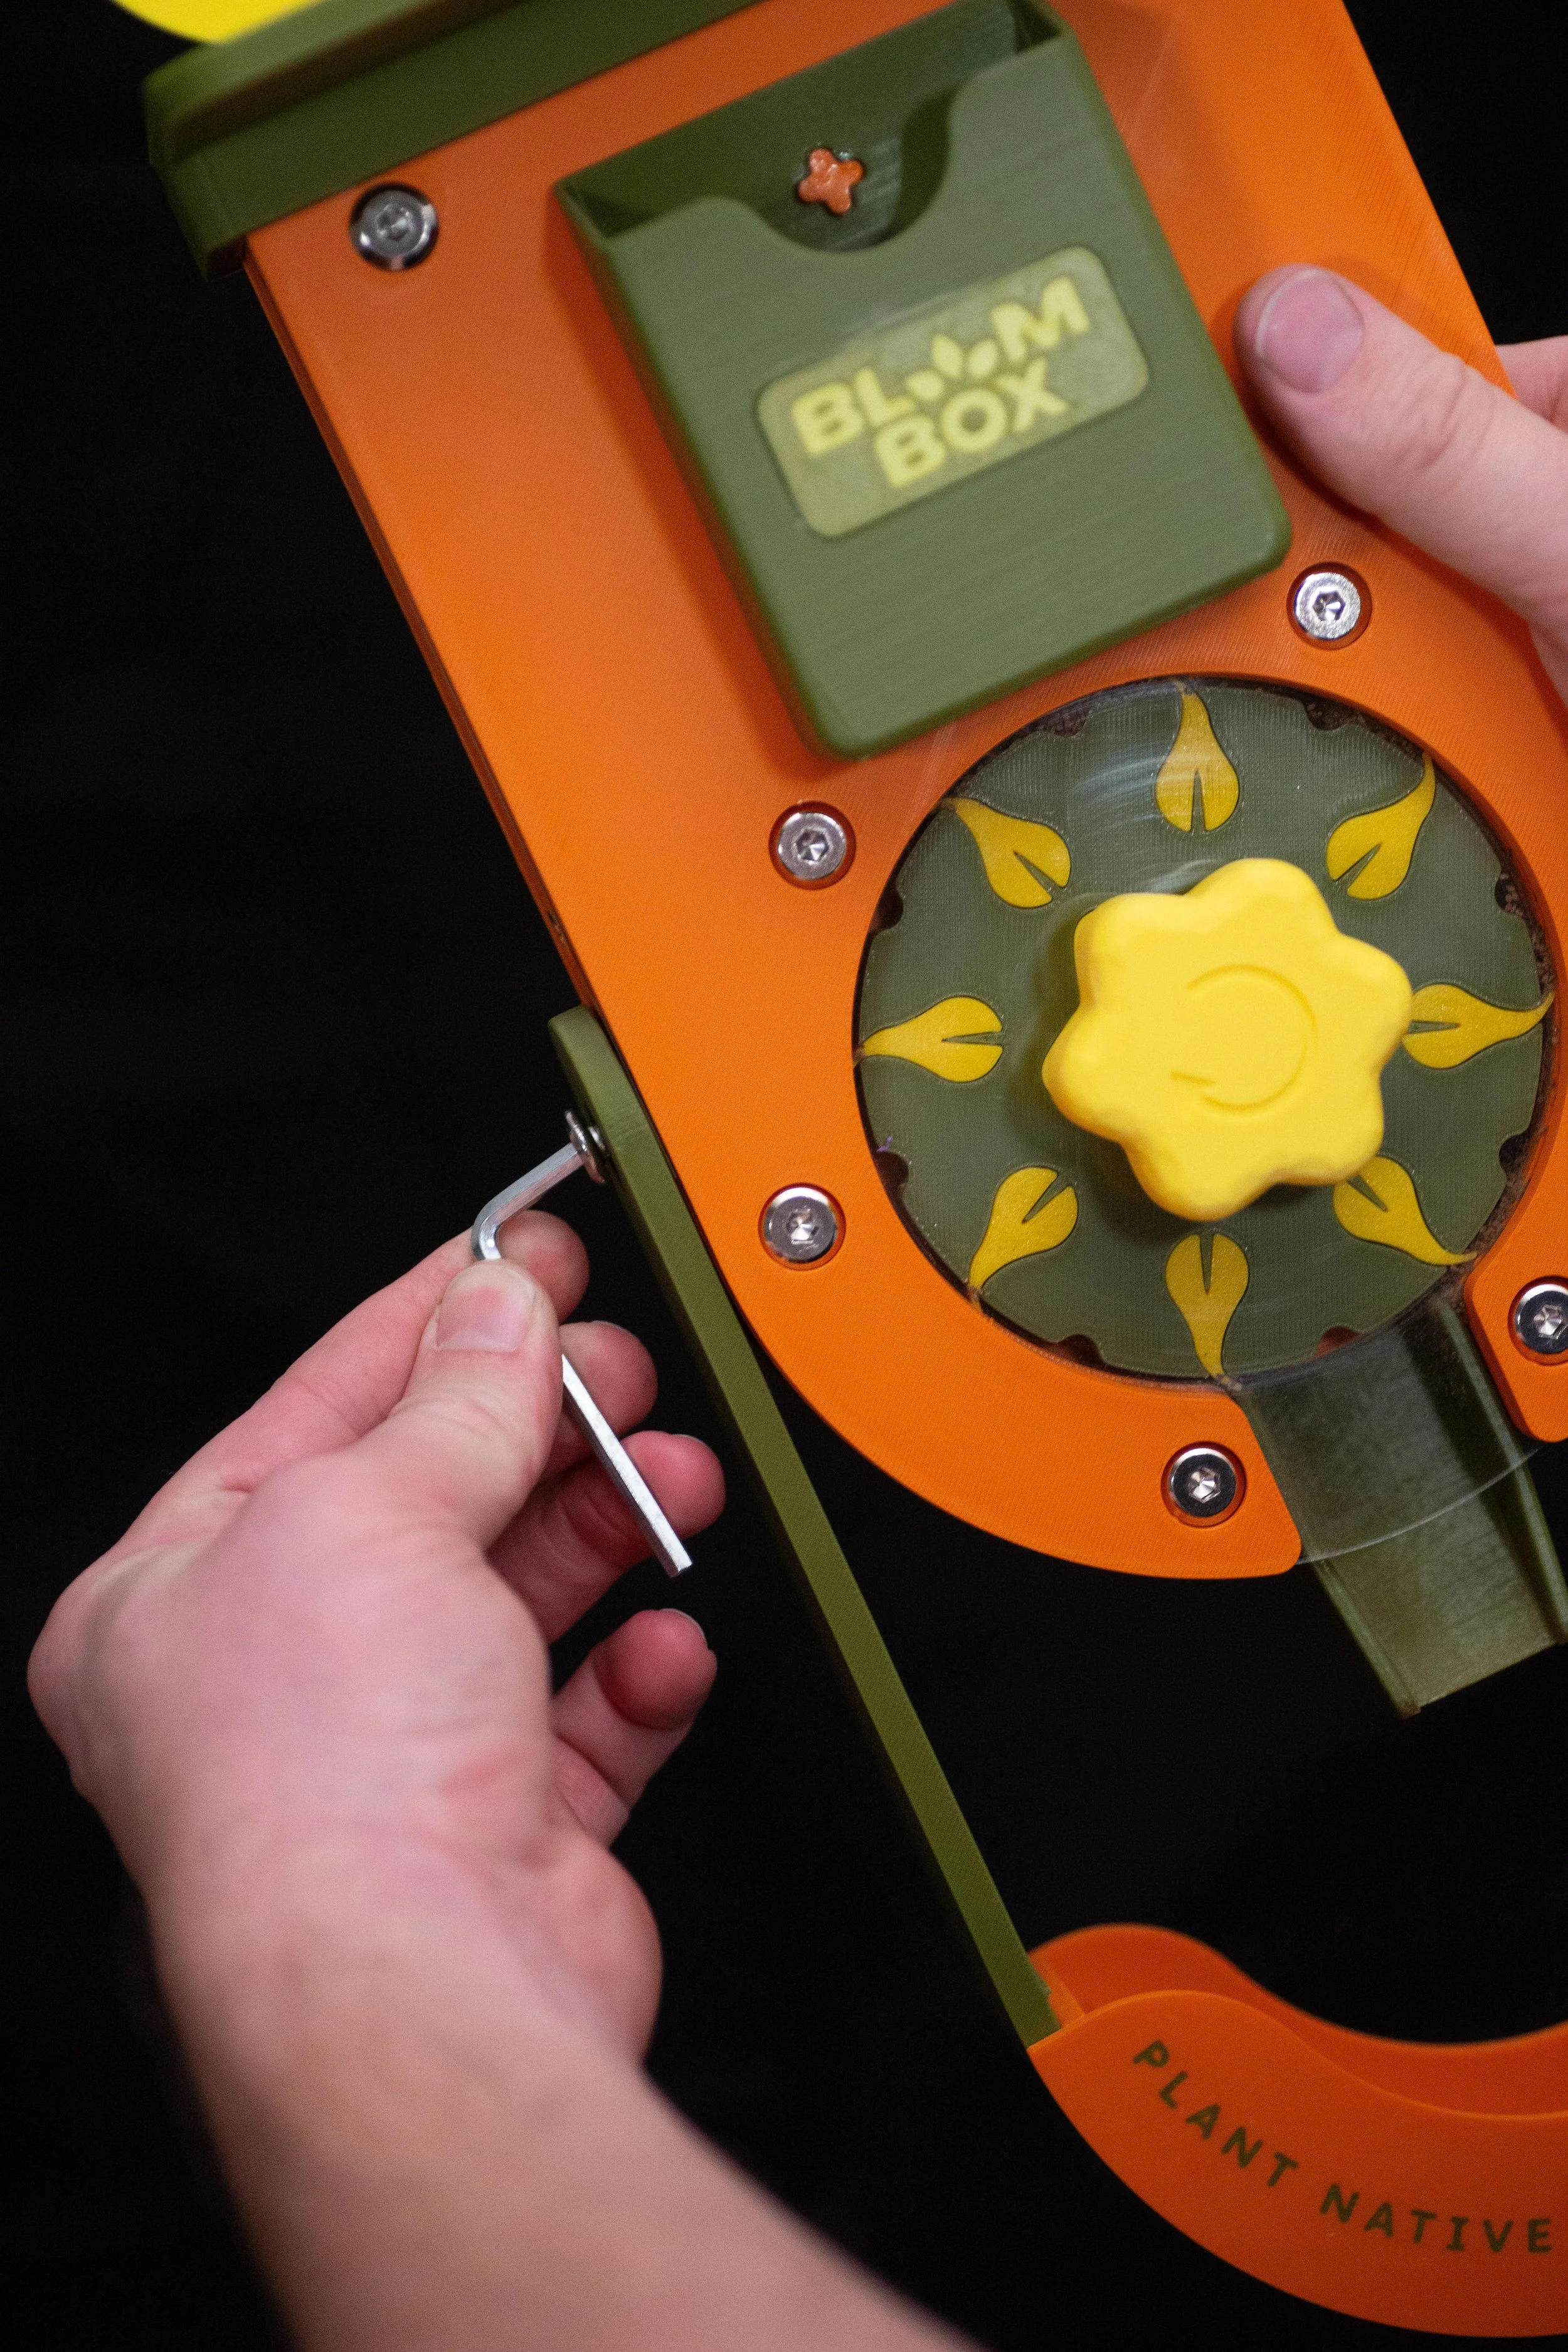
Use the allen key and secure the hanging arm to the bottom threaded insert using the provided screws.
Repeat for the other side.
STEP 06
Go outside and find a tree or post to host your BloomBox.
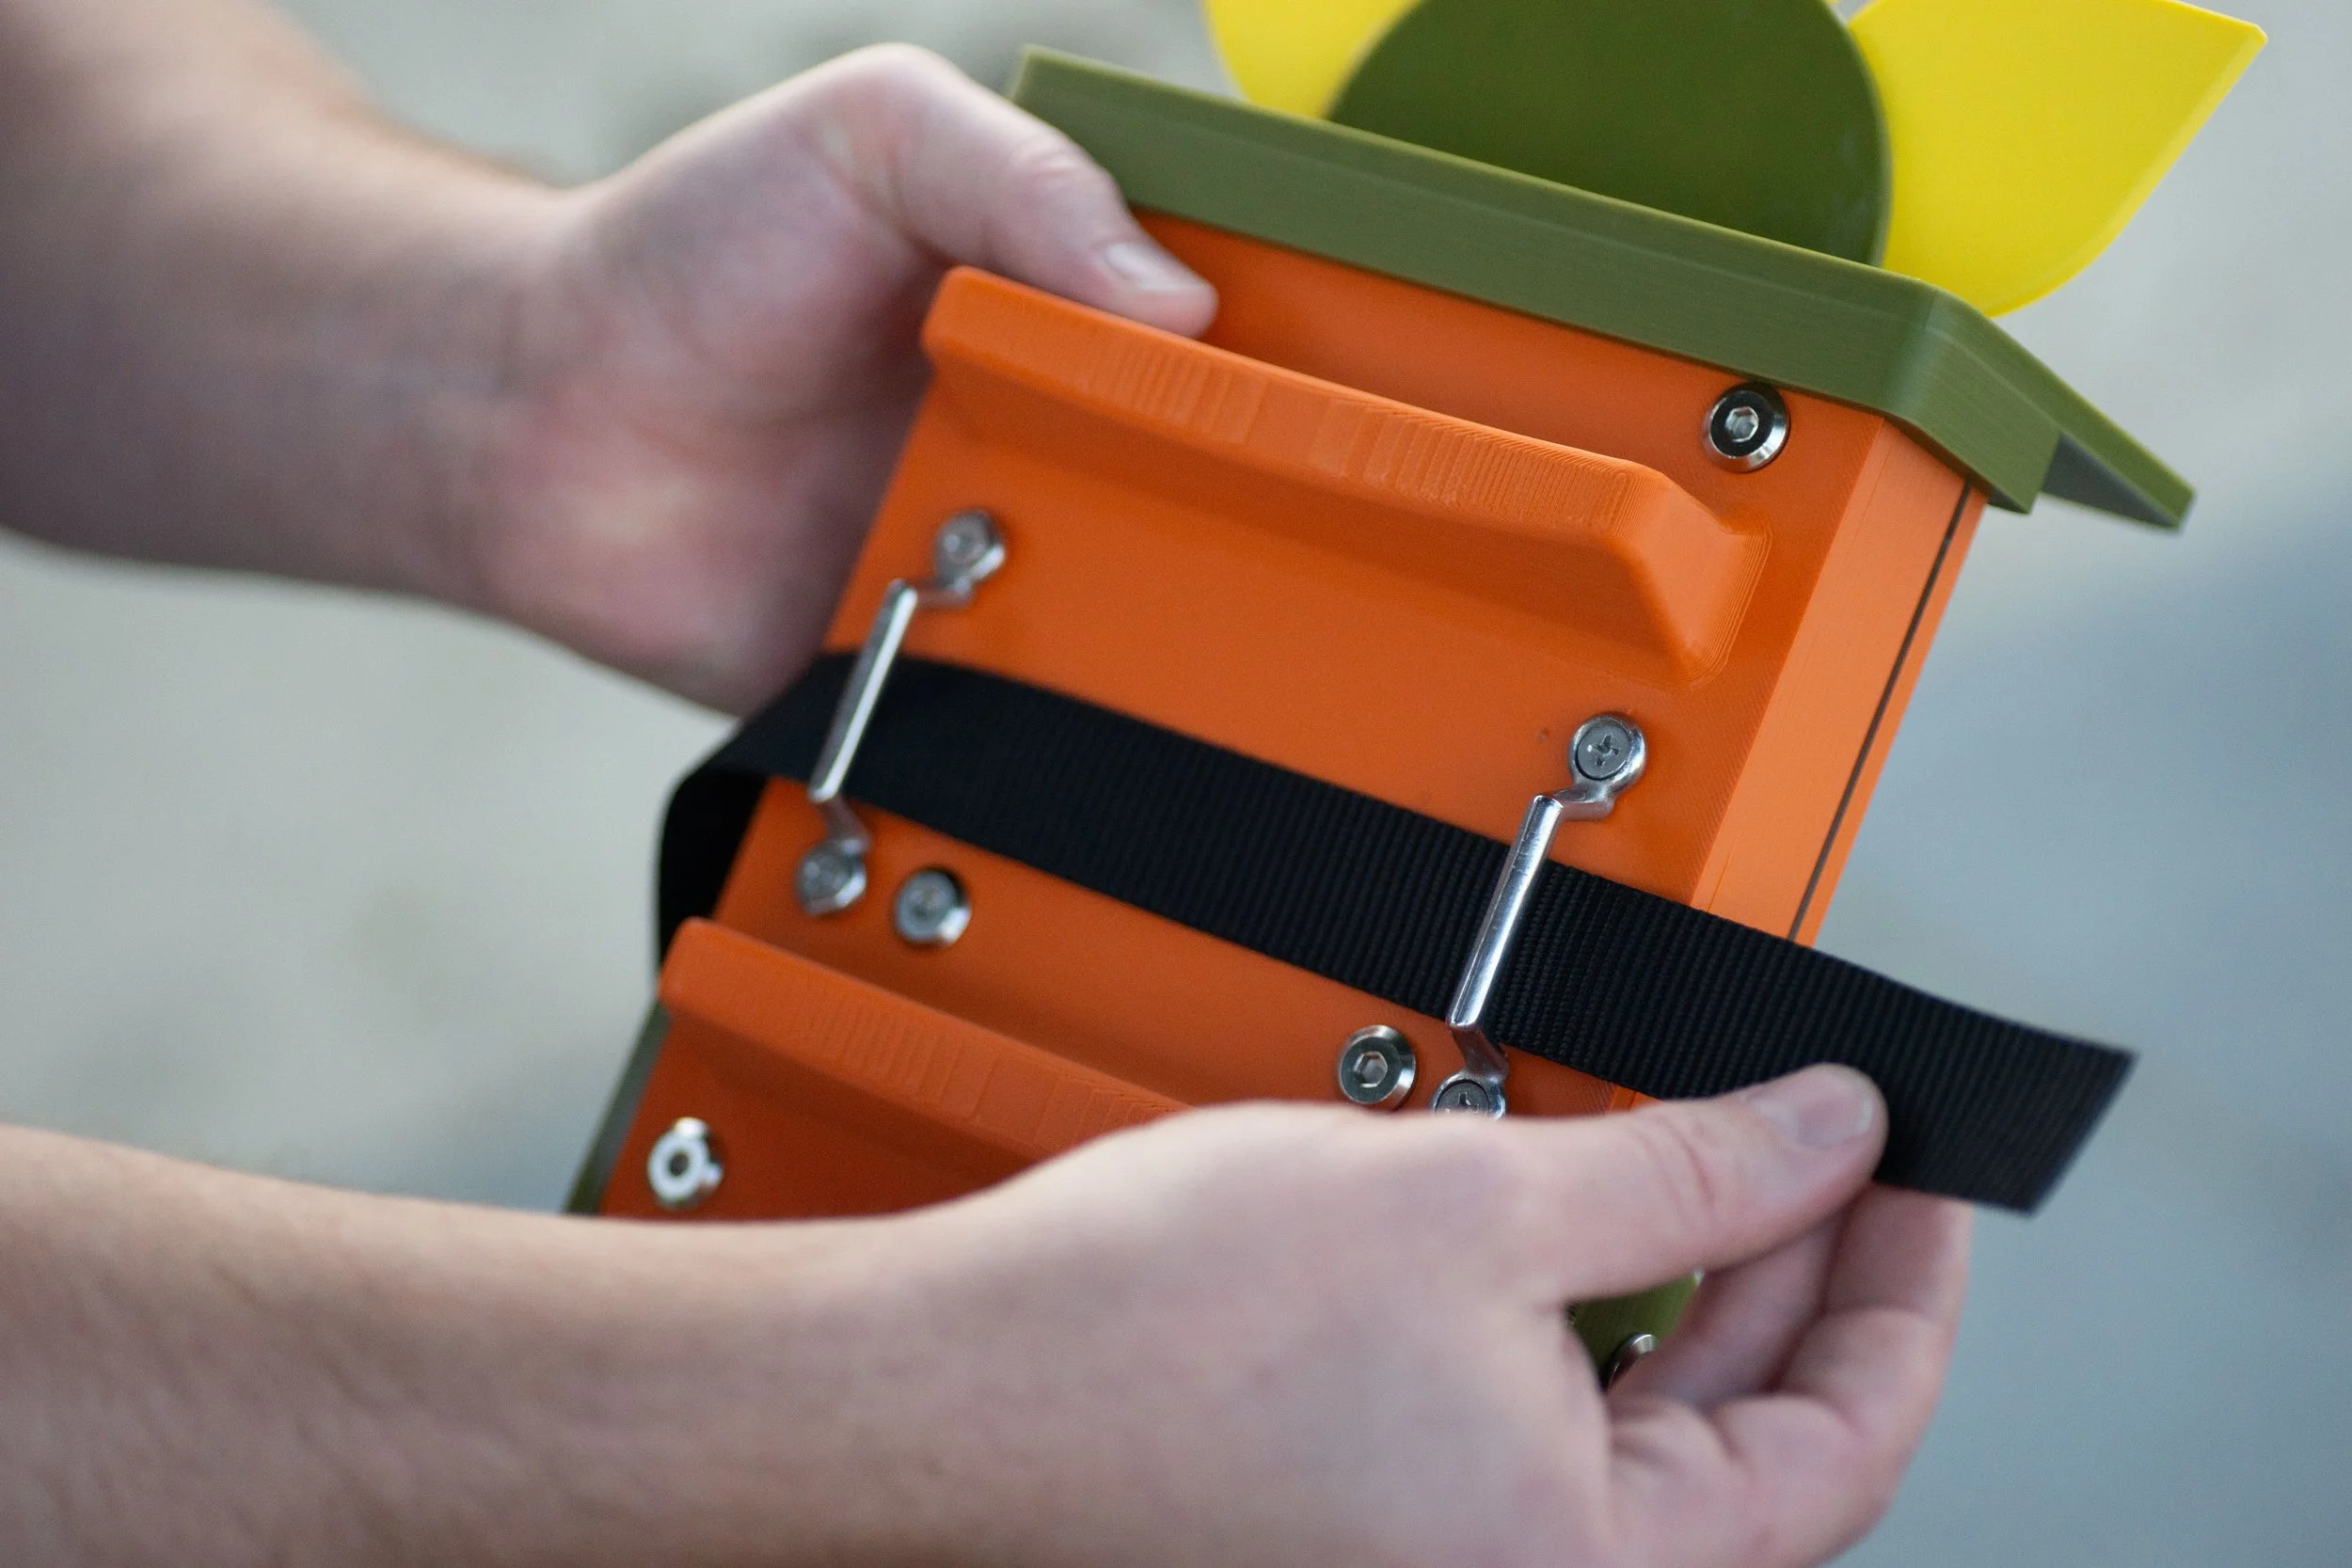
Then, loop the provided tie-down strap through the 2 loops on the back.

STEP 07-B
View from behind.

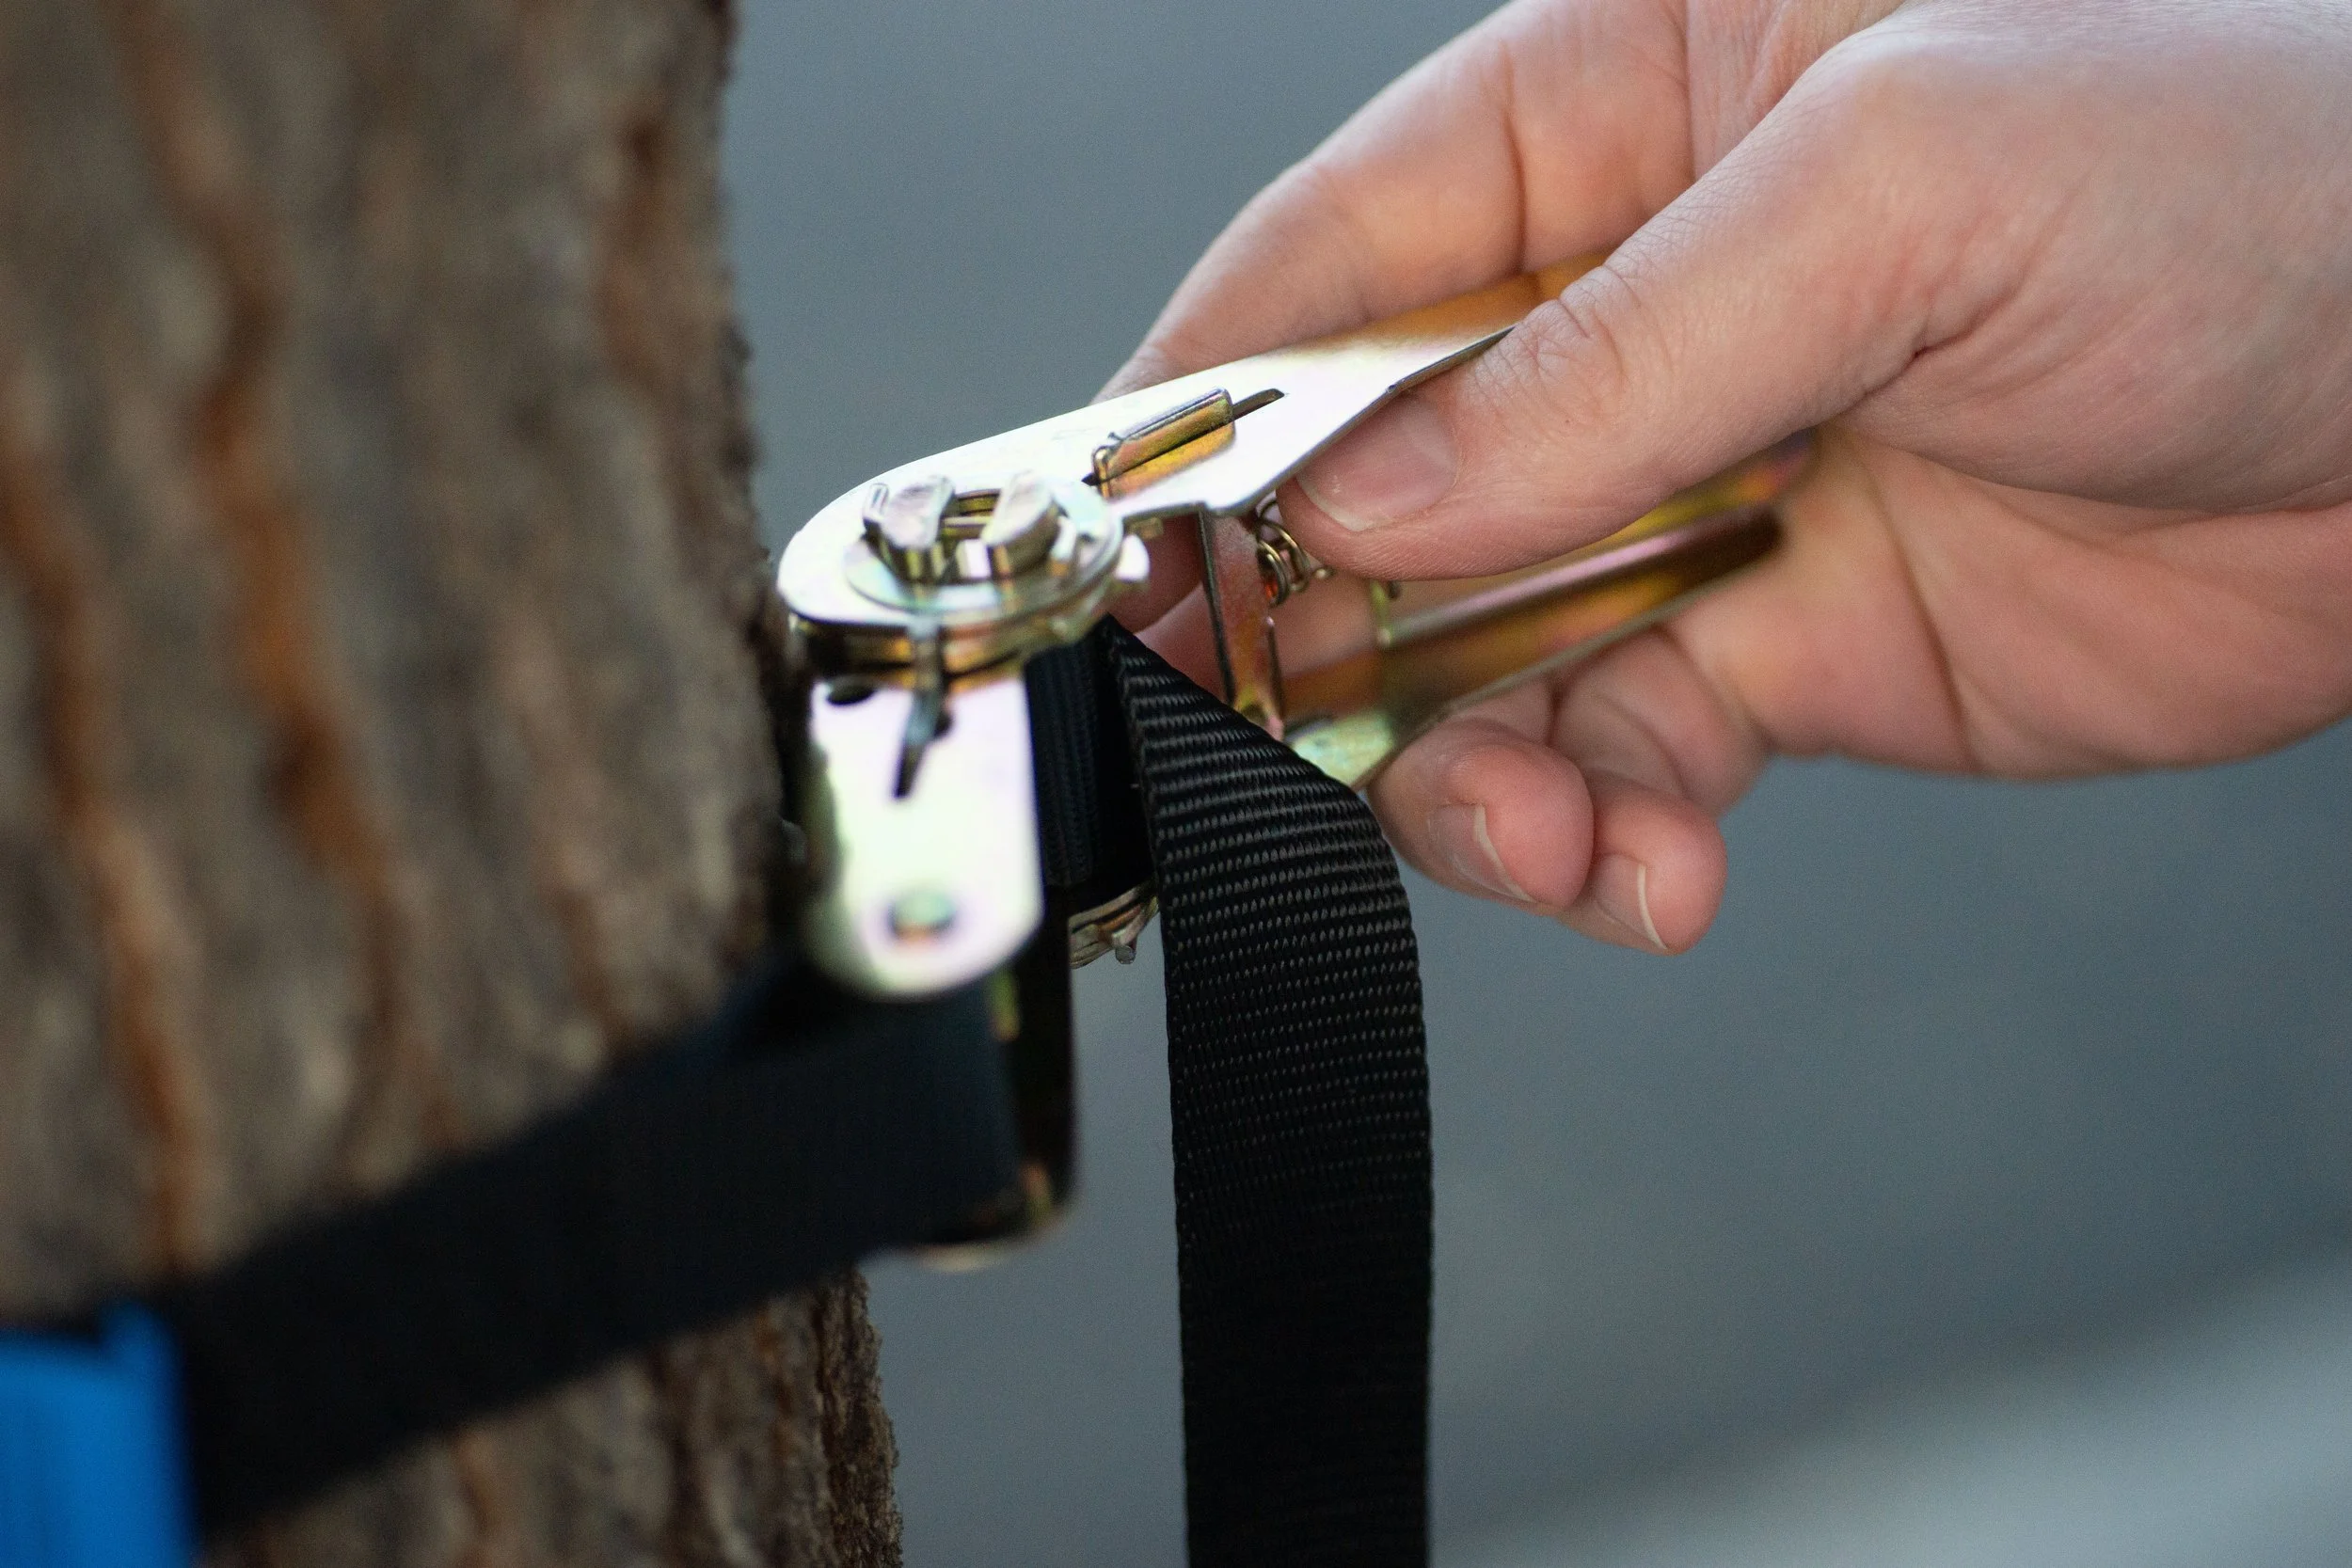
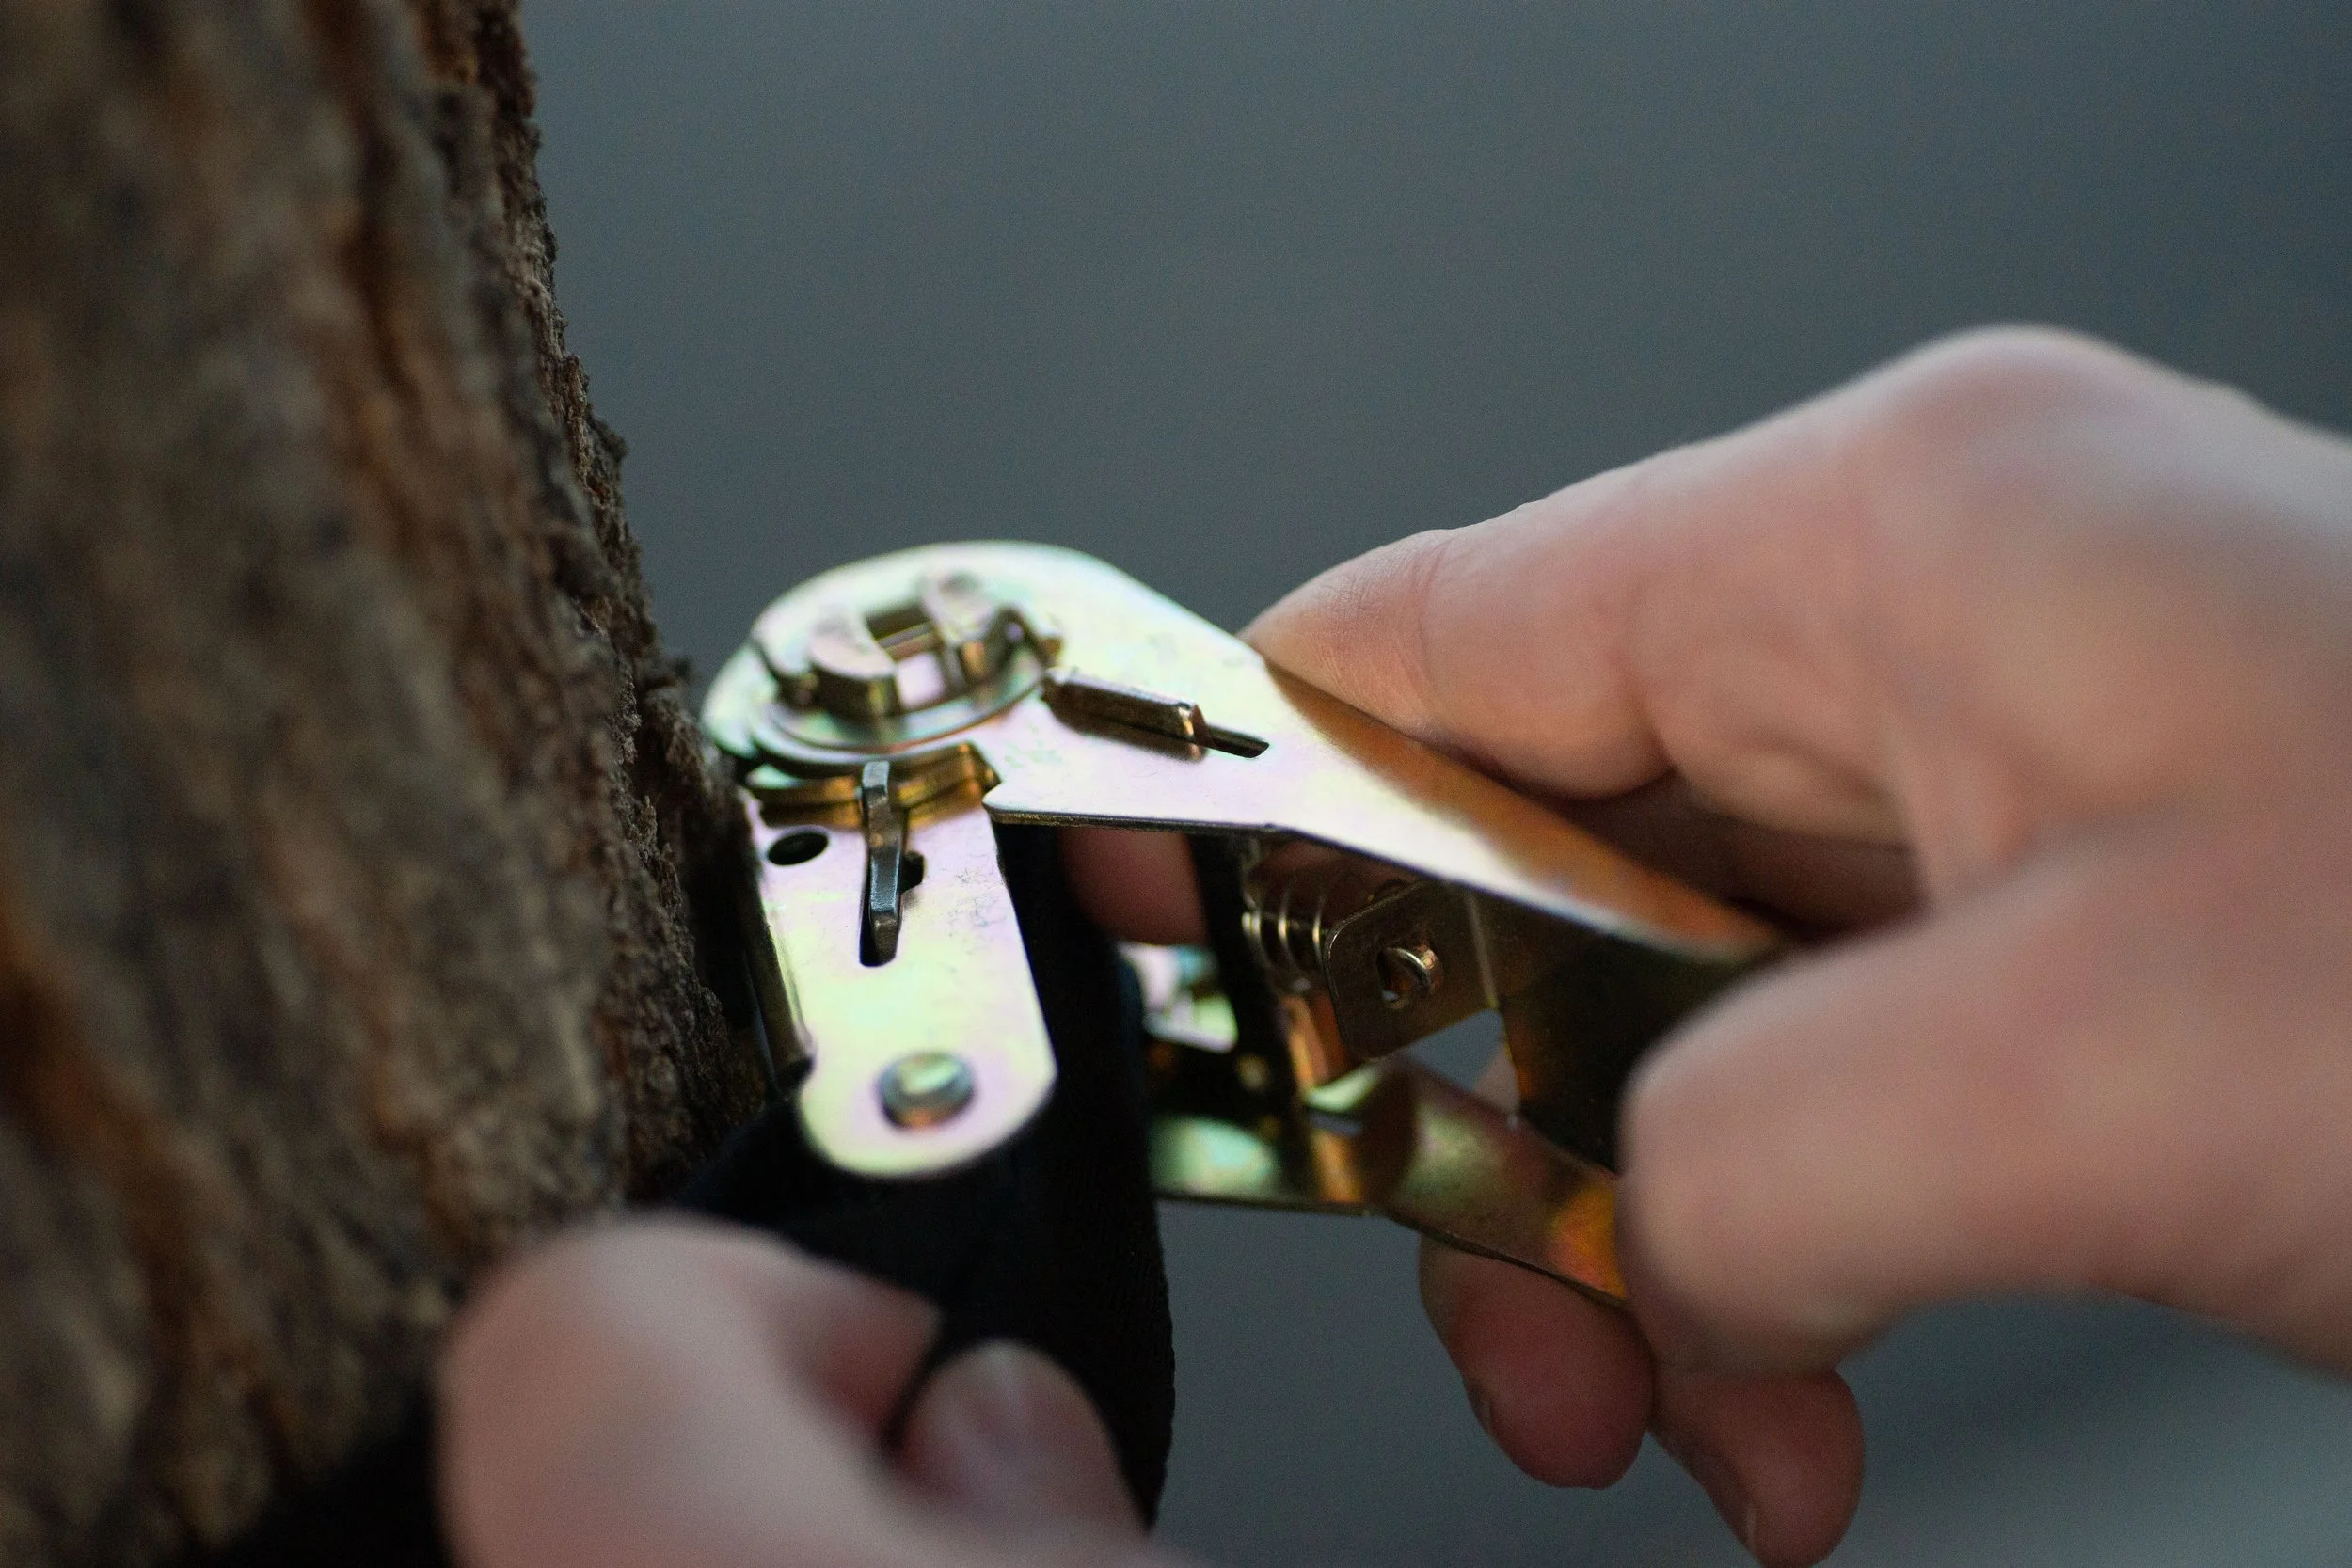
STEP 08
Feed one end of the strap through the buckle until it is almost tight against the tree.
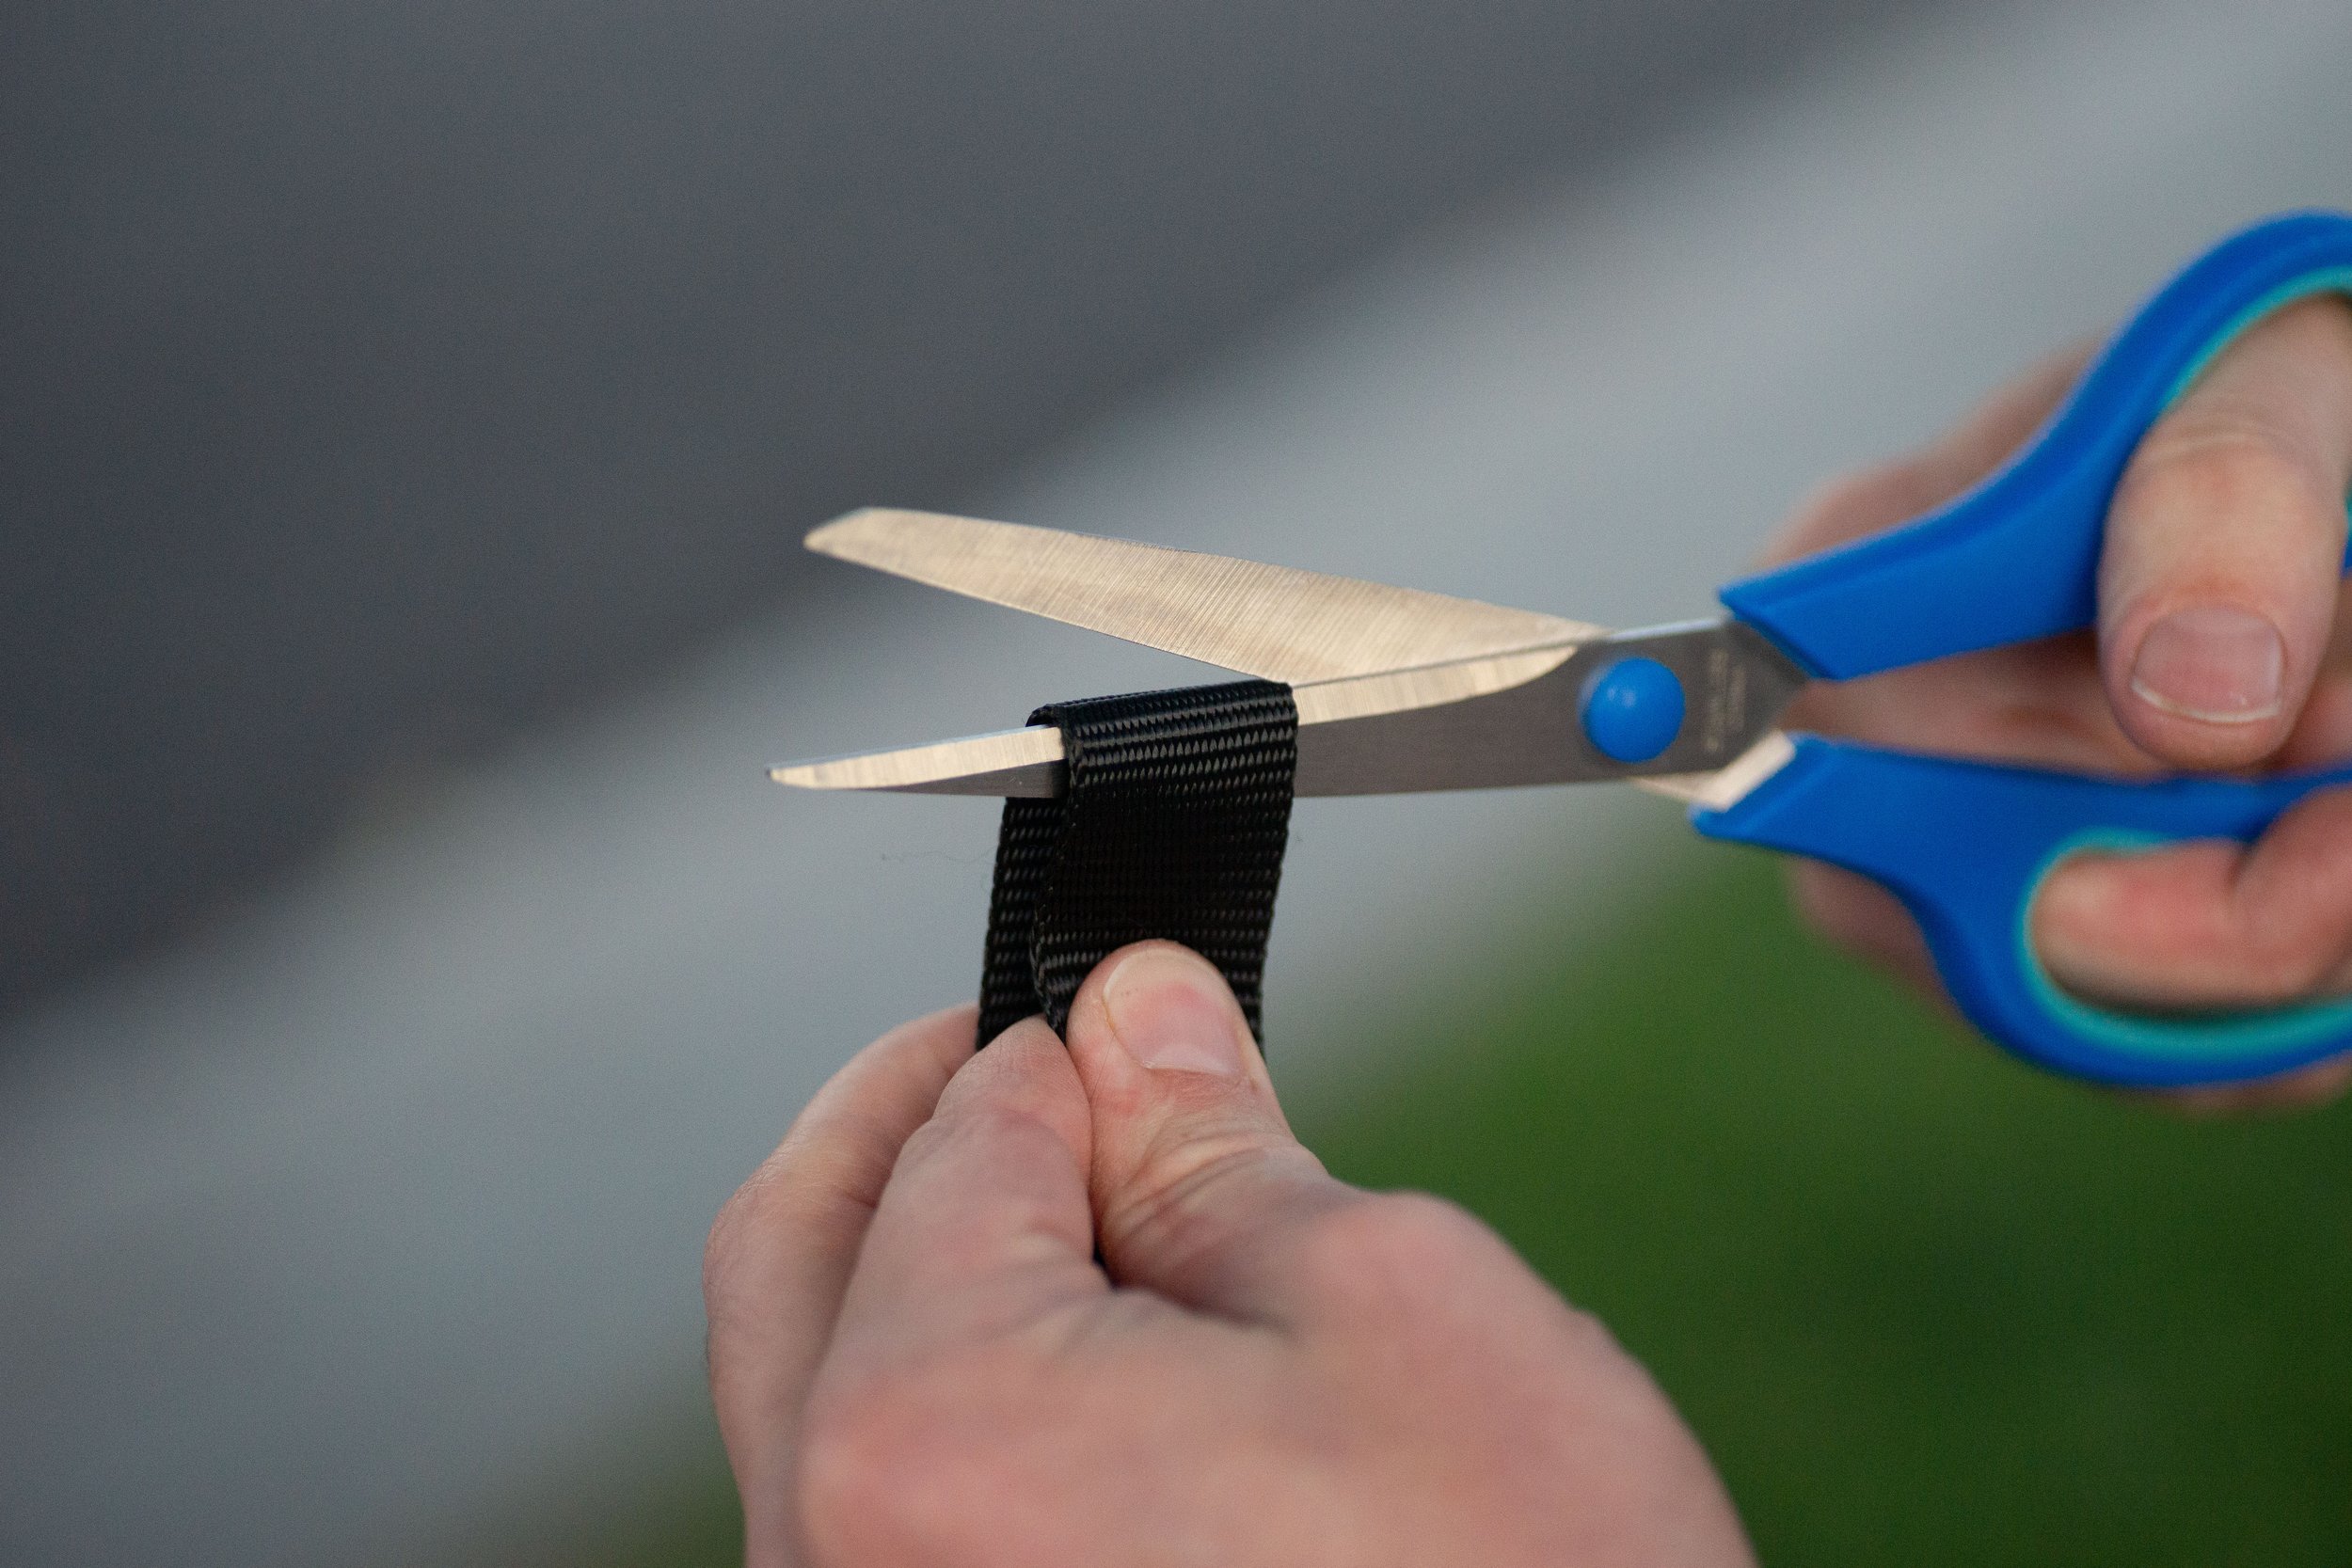
STEP 10
Once tightened, you may cut the excess strap to the desired length.
STEP 02
Use the allen key and secure the standing arm to both threaded inserts using the provided screws.
Repeat for the other side.
(Total of 4 screws)
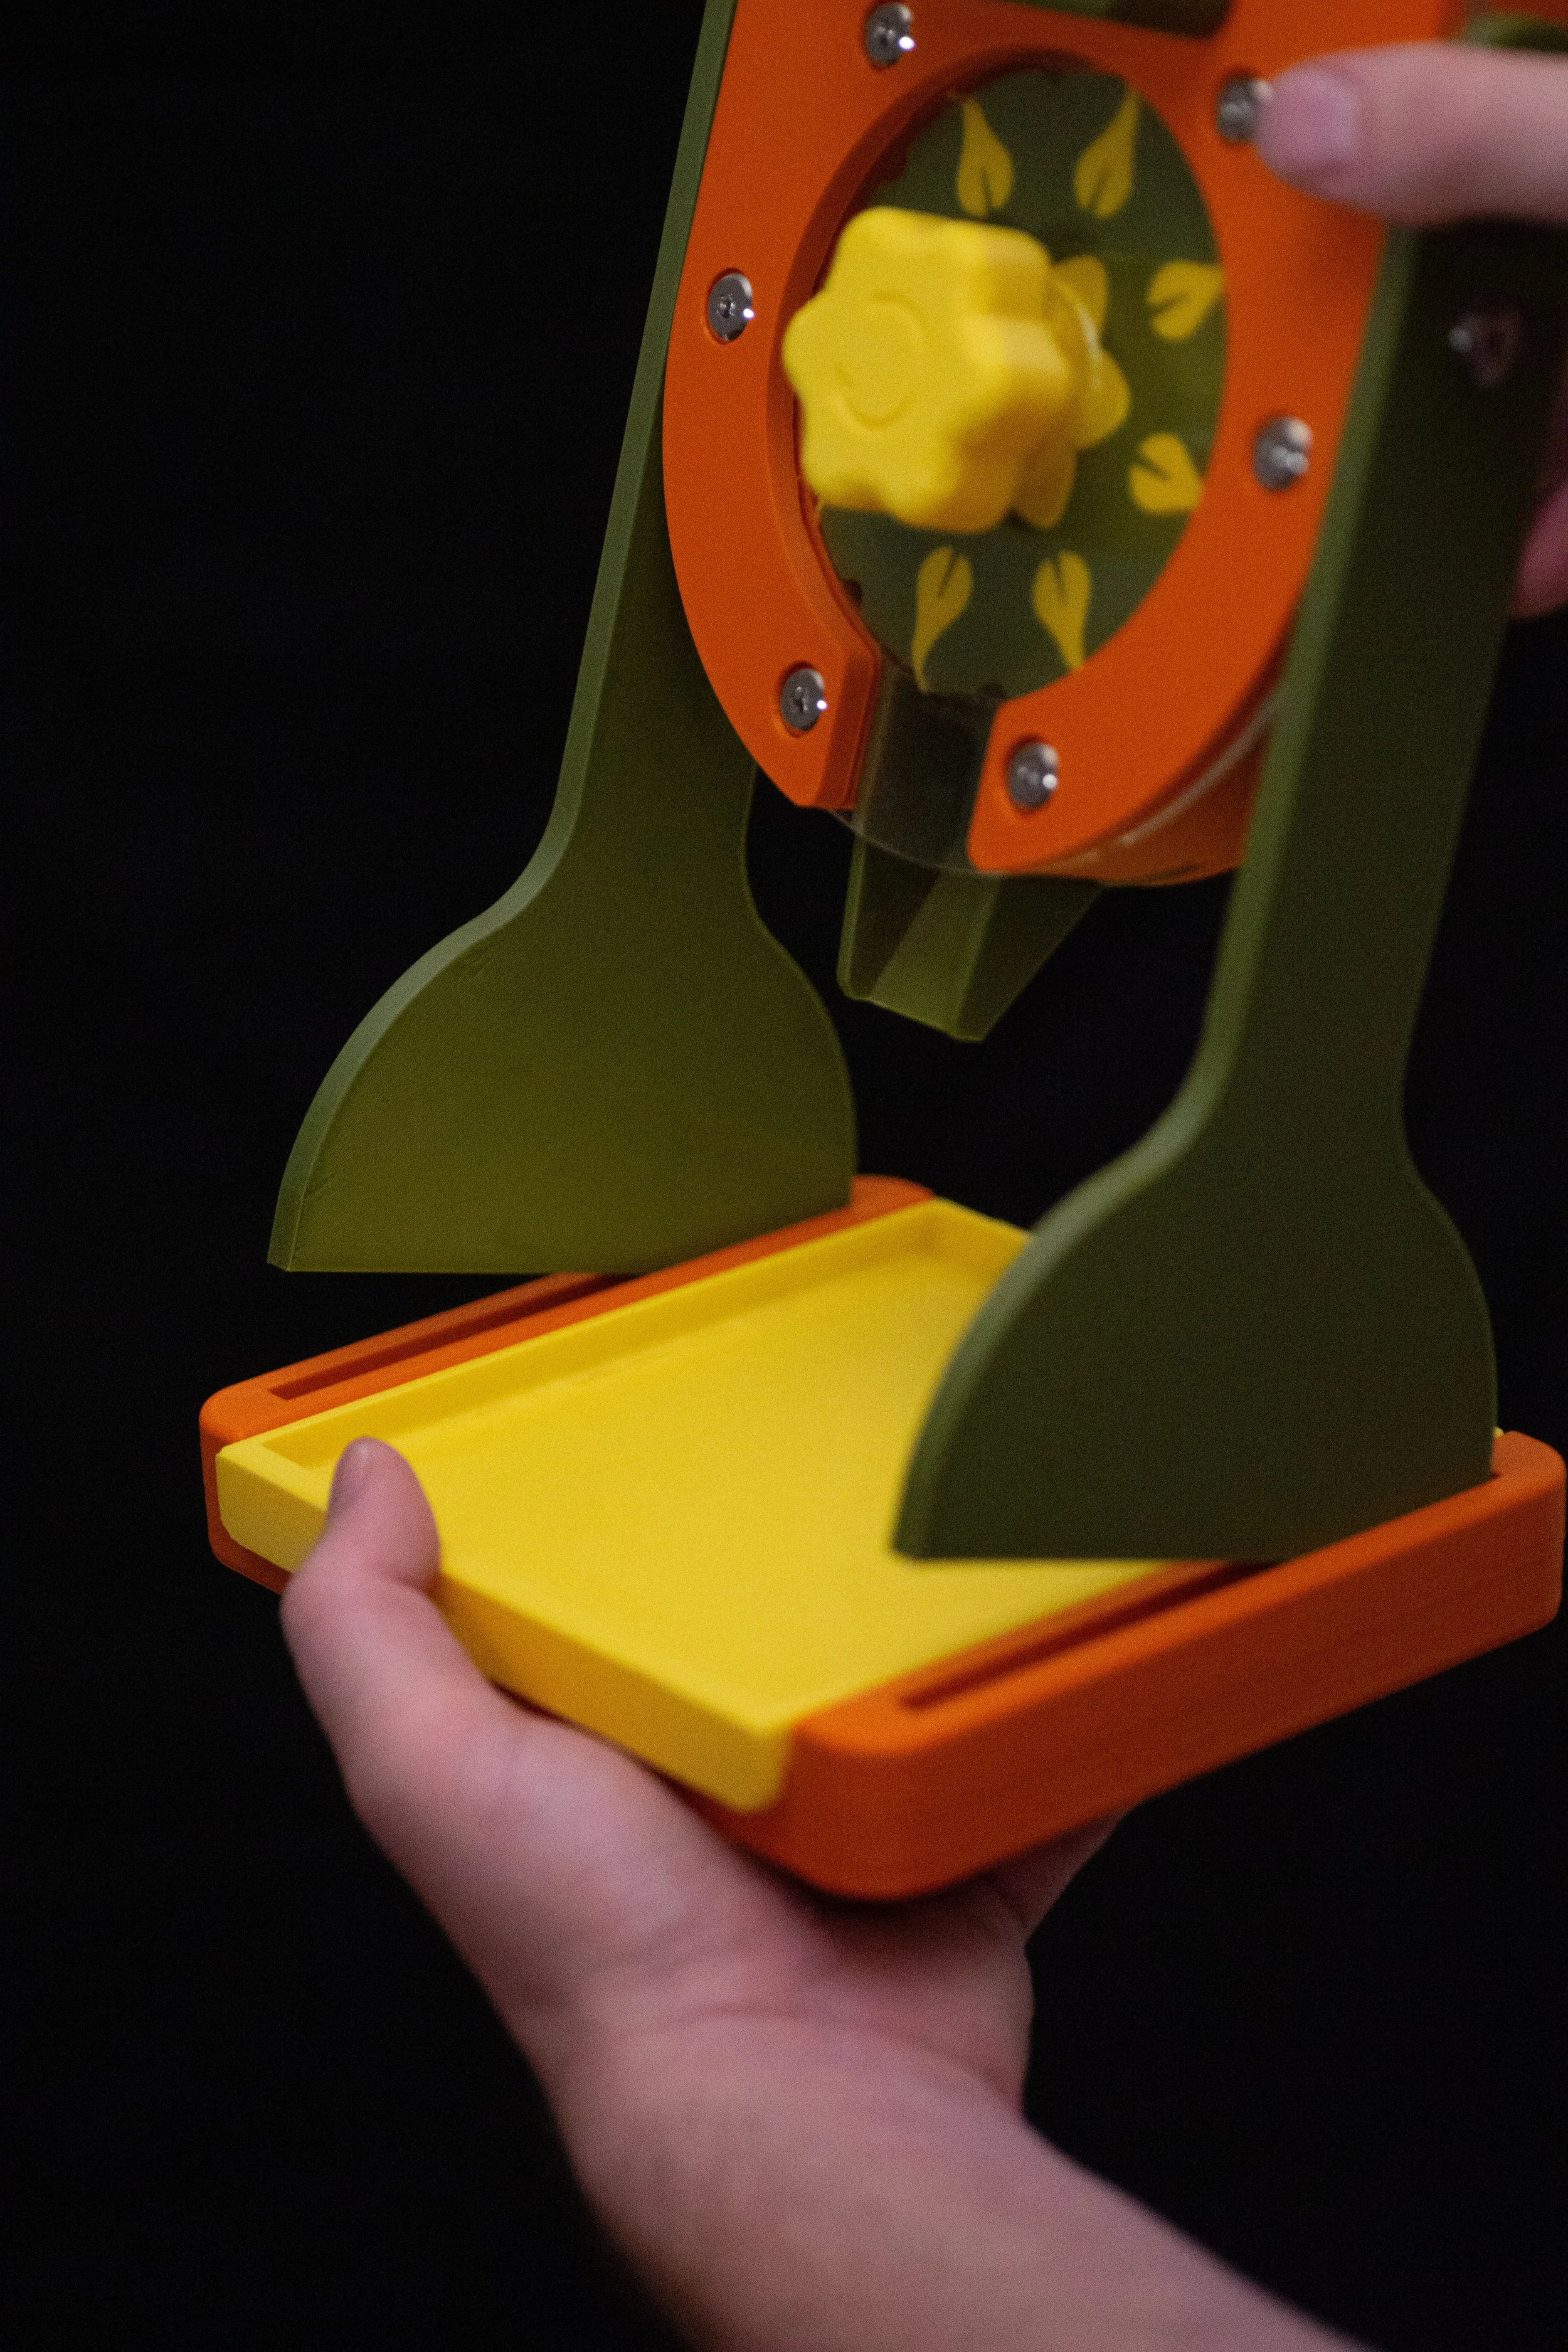
STEP 03
After the legs are secured, press fit the legs into the provided slots in the spill tray so that the BloomBox remains upright and stands on its own.
STEP 05
Align the 2 holes on the lid to the holes on top of the BloomBox.
Secure the lid closed using the allen key with the provided screws, into the holes and repeat this process
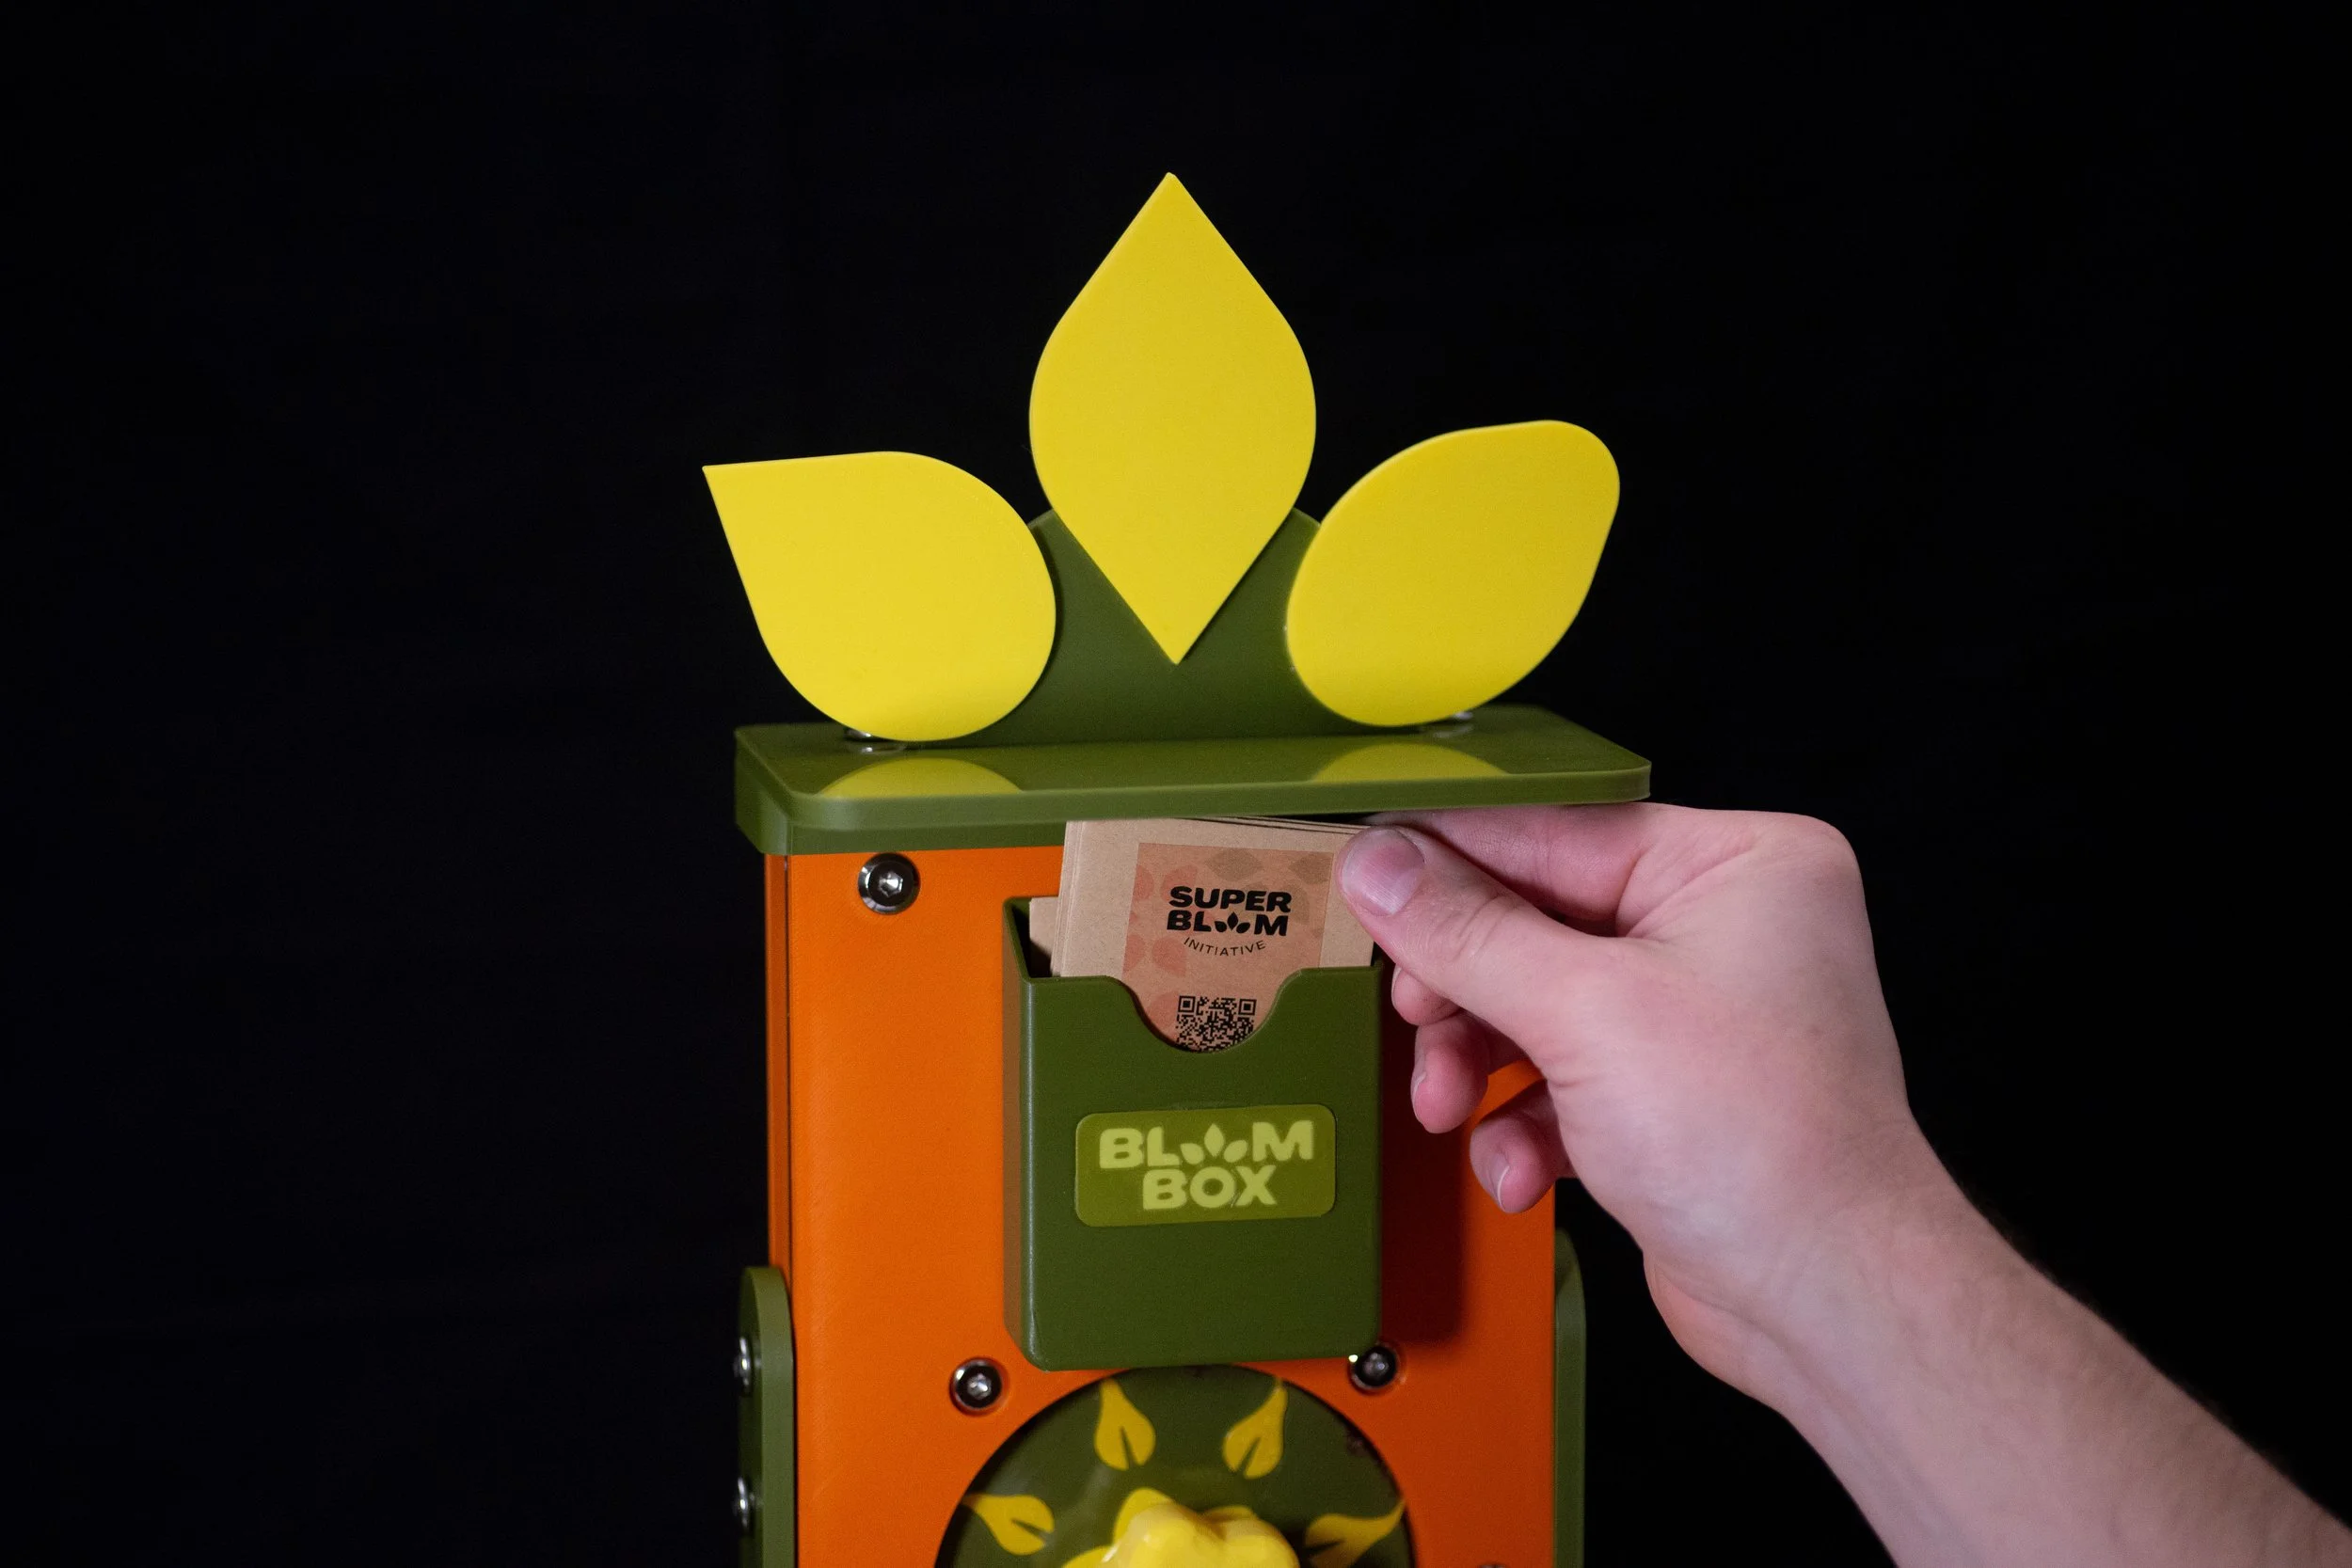
STEP 06
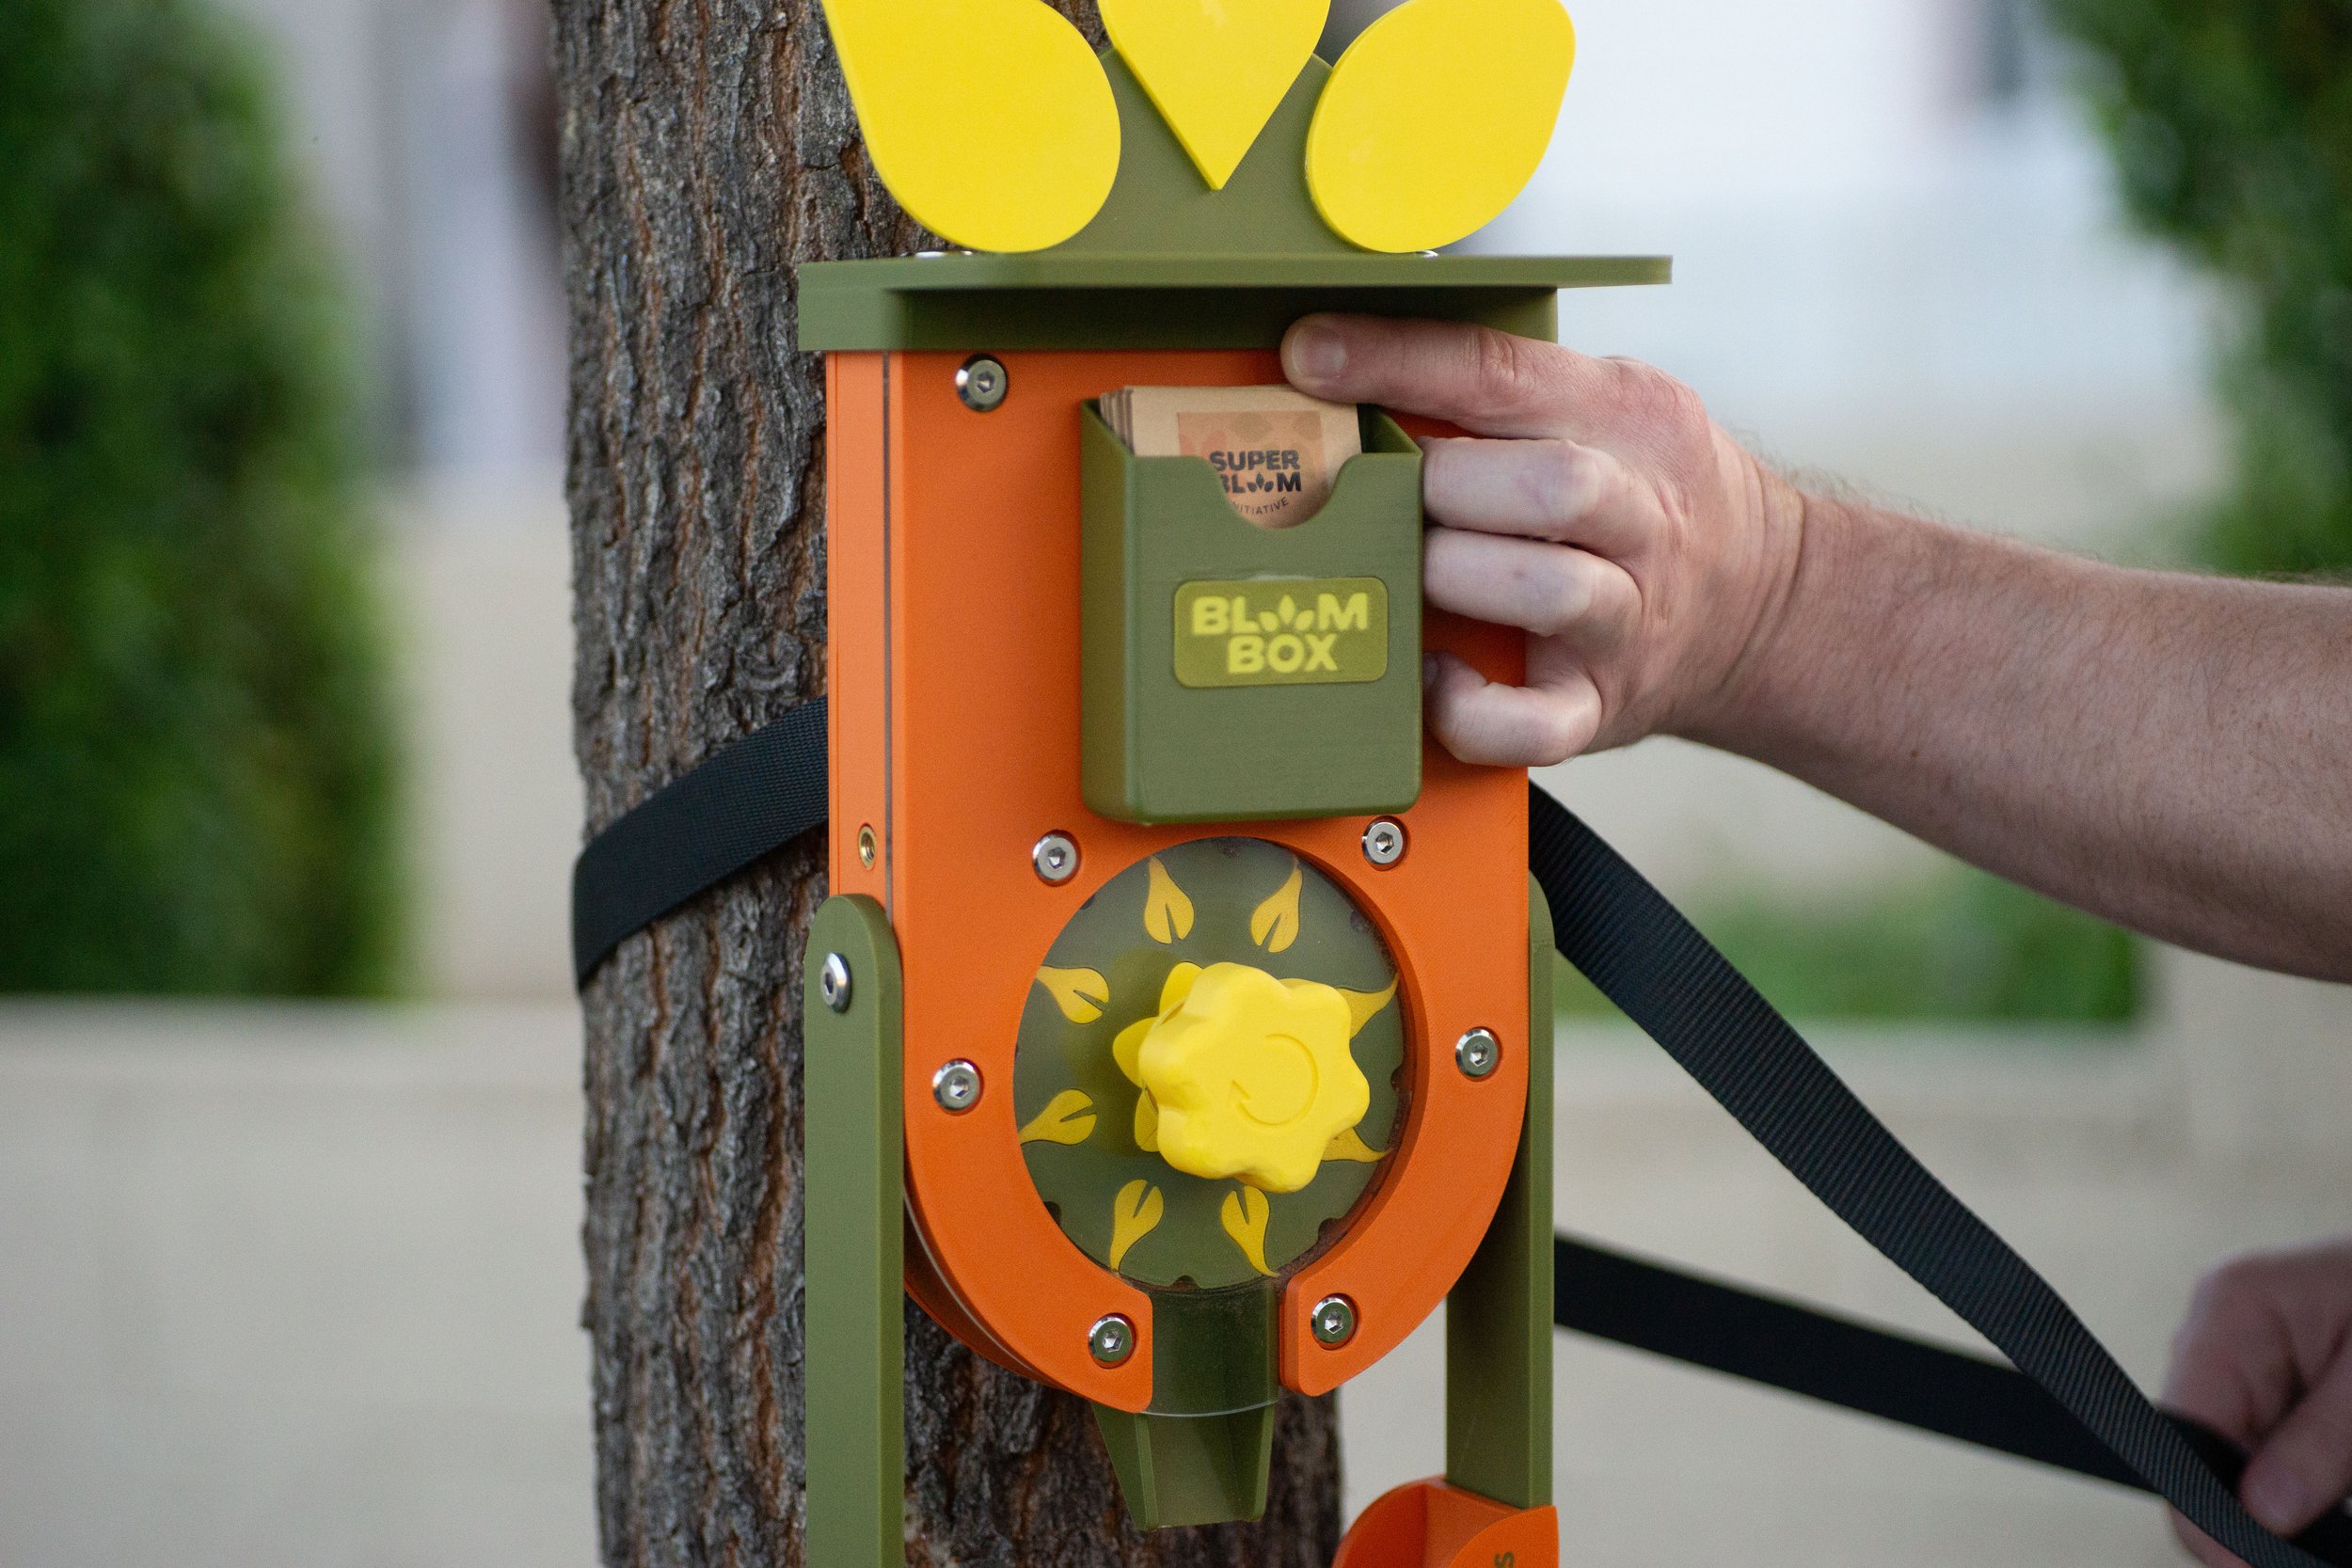
Place seed envelopes into the envelop holder.
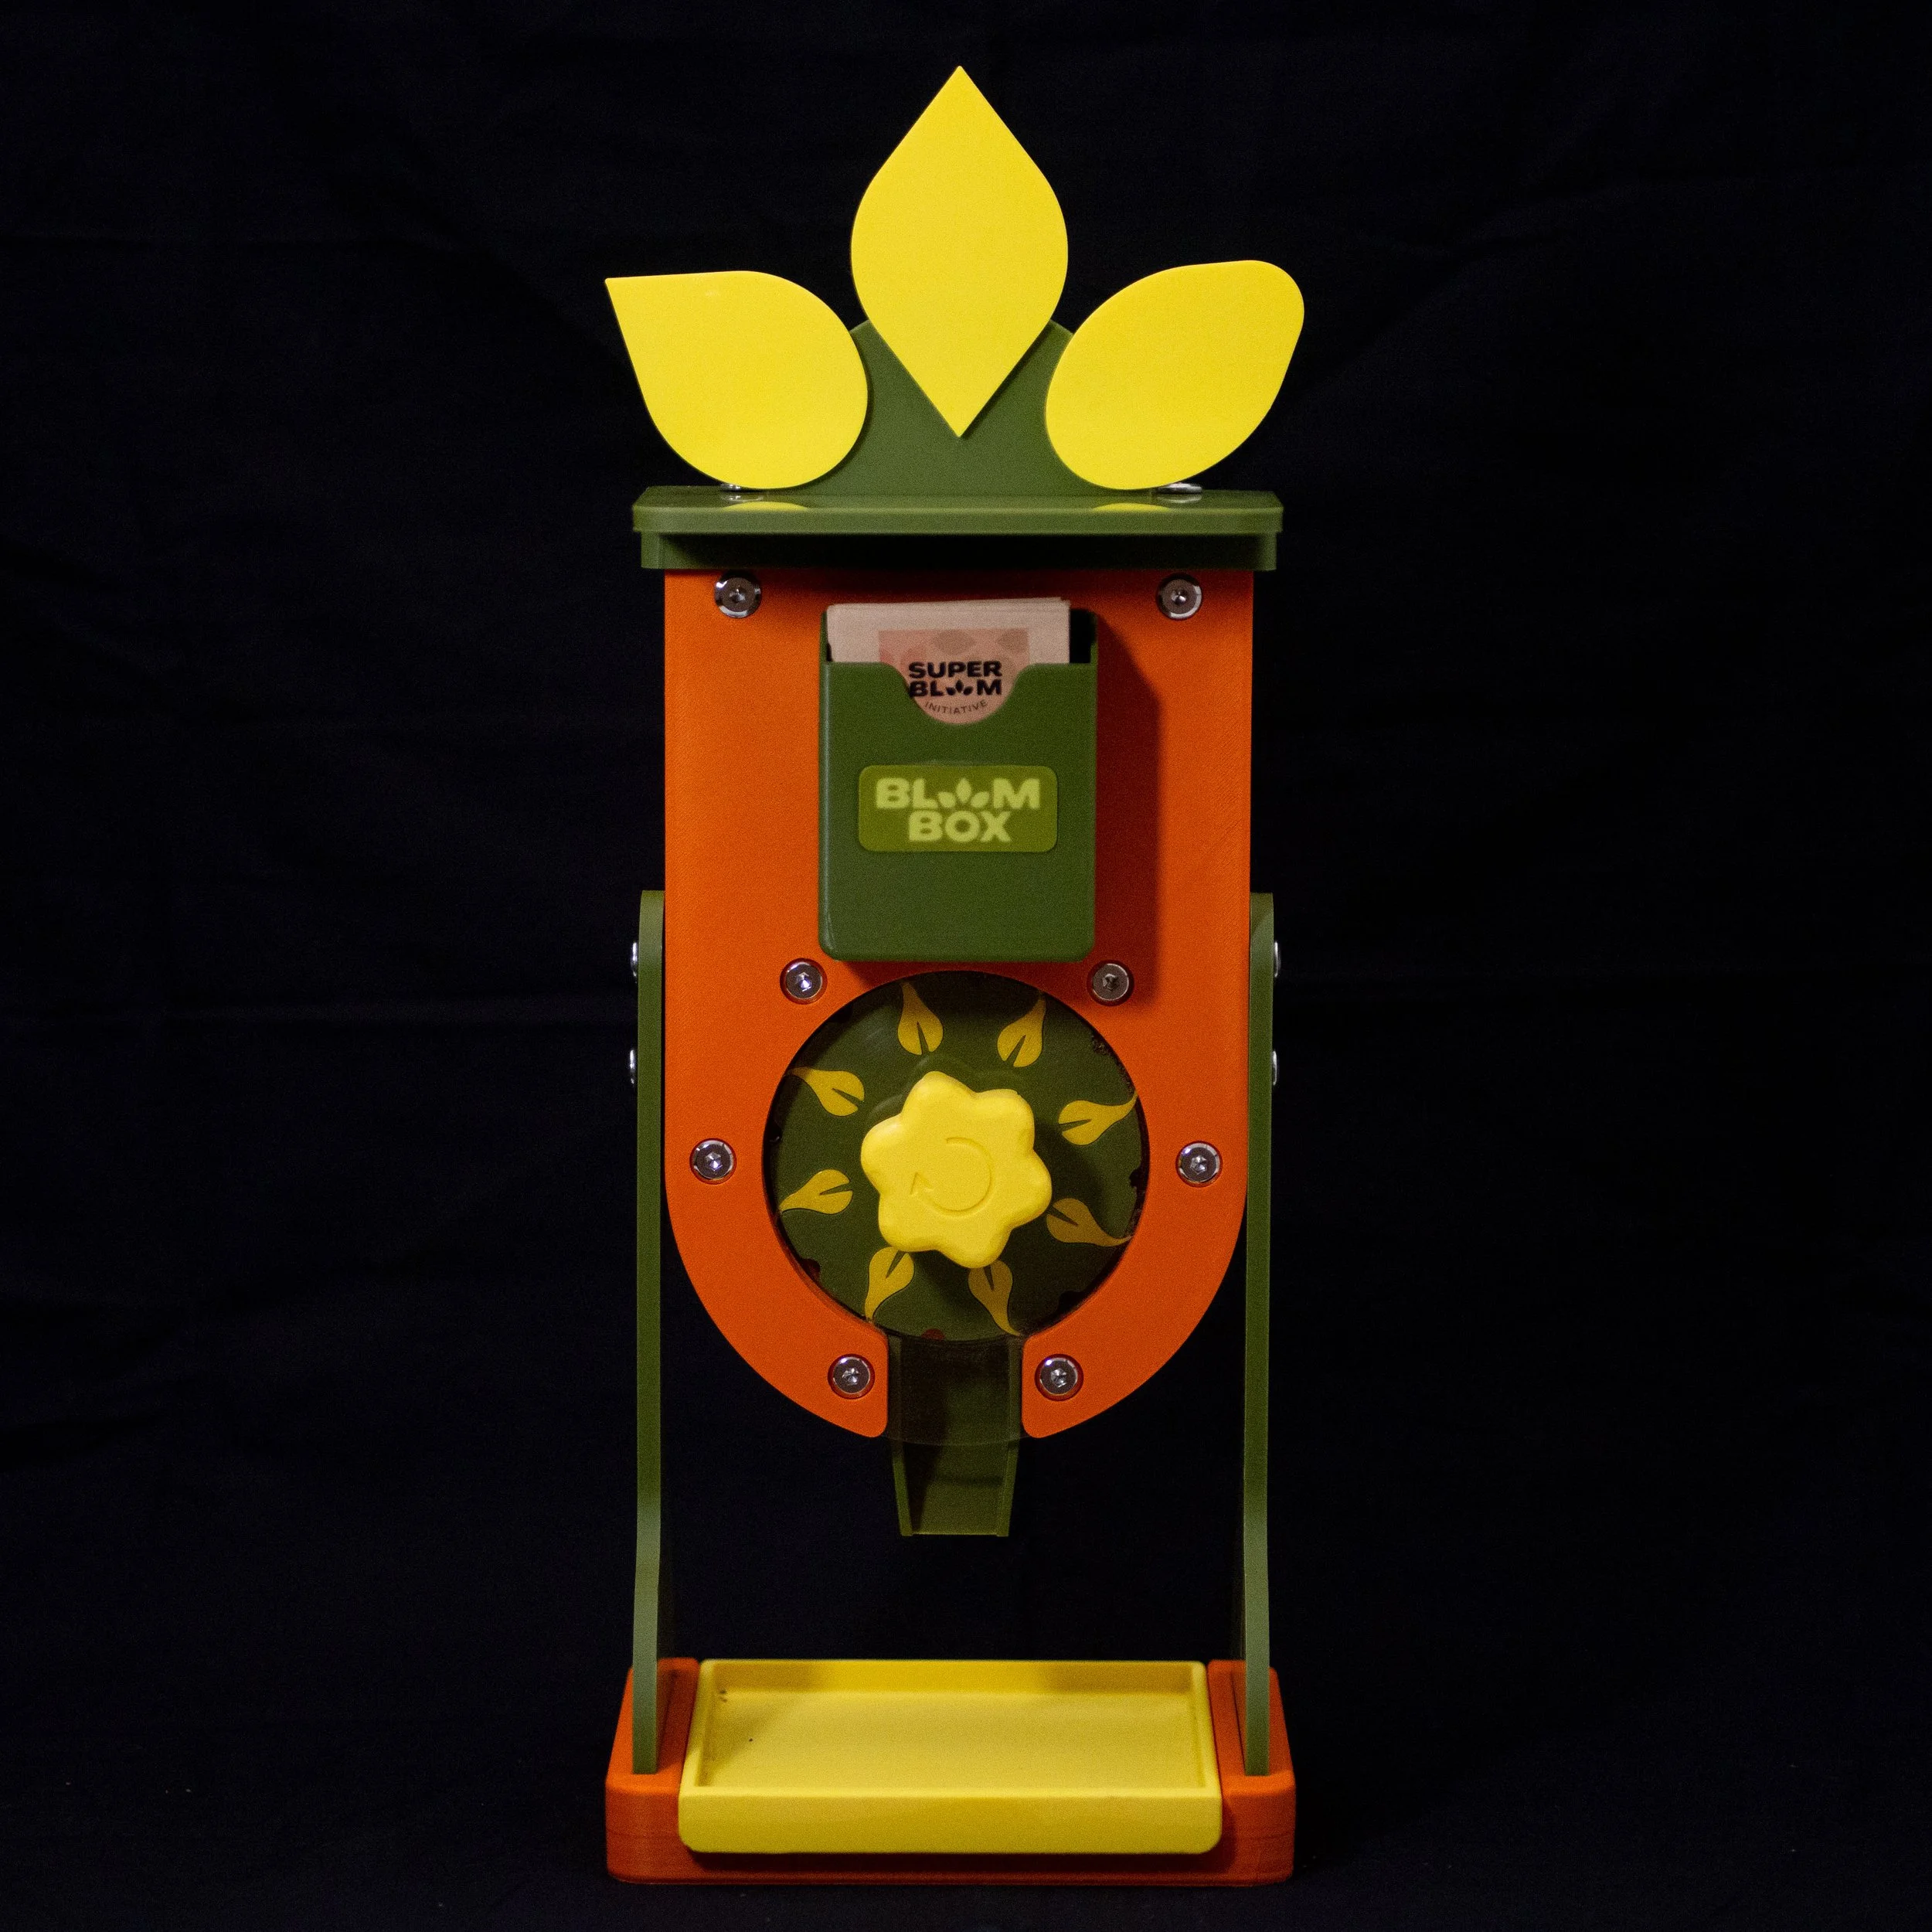
STEP 07
BloomBox is now set up and ready to use!
BloomBox Mini (Hanging)
STEP 03
With another person’s help, prop up the BloomBox vertically to fill it with seeds.
Use the funnel provided to guide the seeds cleanly into the compartment.
STEP 04
Align the 2 holes on the lid to the holes on top of the BloomBox.
Secure the lid closed using the allen key with the provided screws, into the holes and repeat this process
STEP 05
Place seed envelopes into the envelop holder.
STEP 07
Hold the BloomBox firmly against the tree or post as you wrap the strap around it once.
You may someone else to help hold the BloomBox.
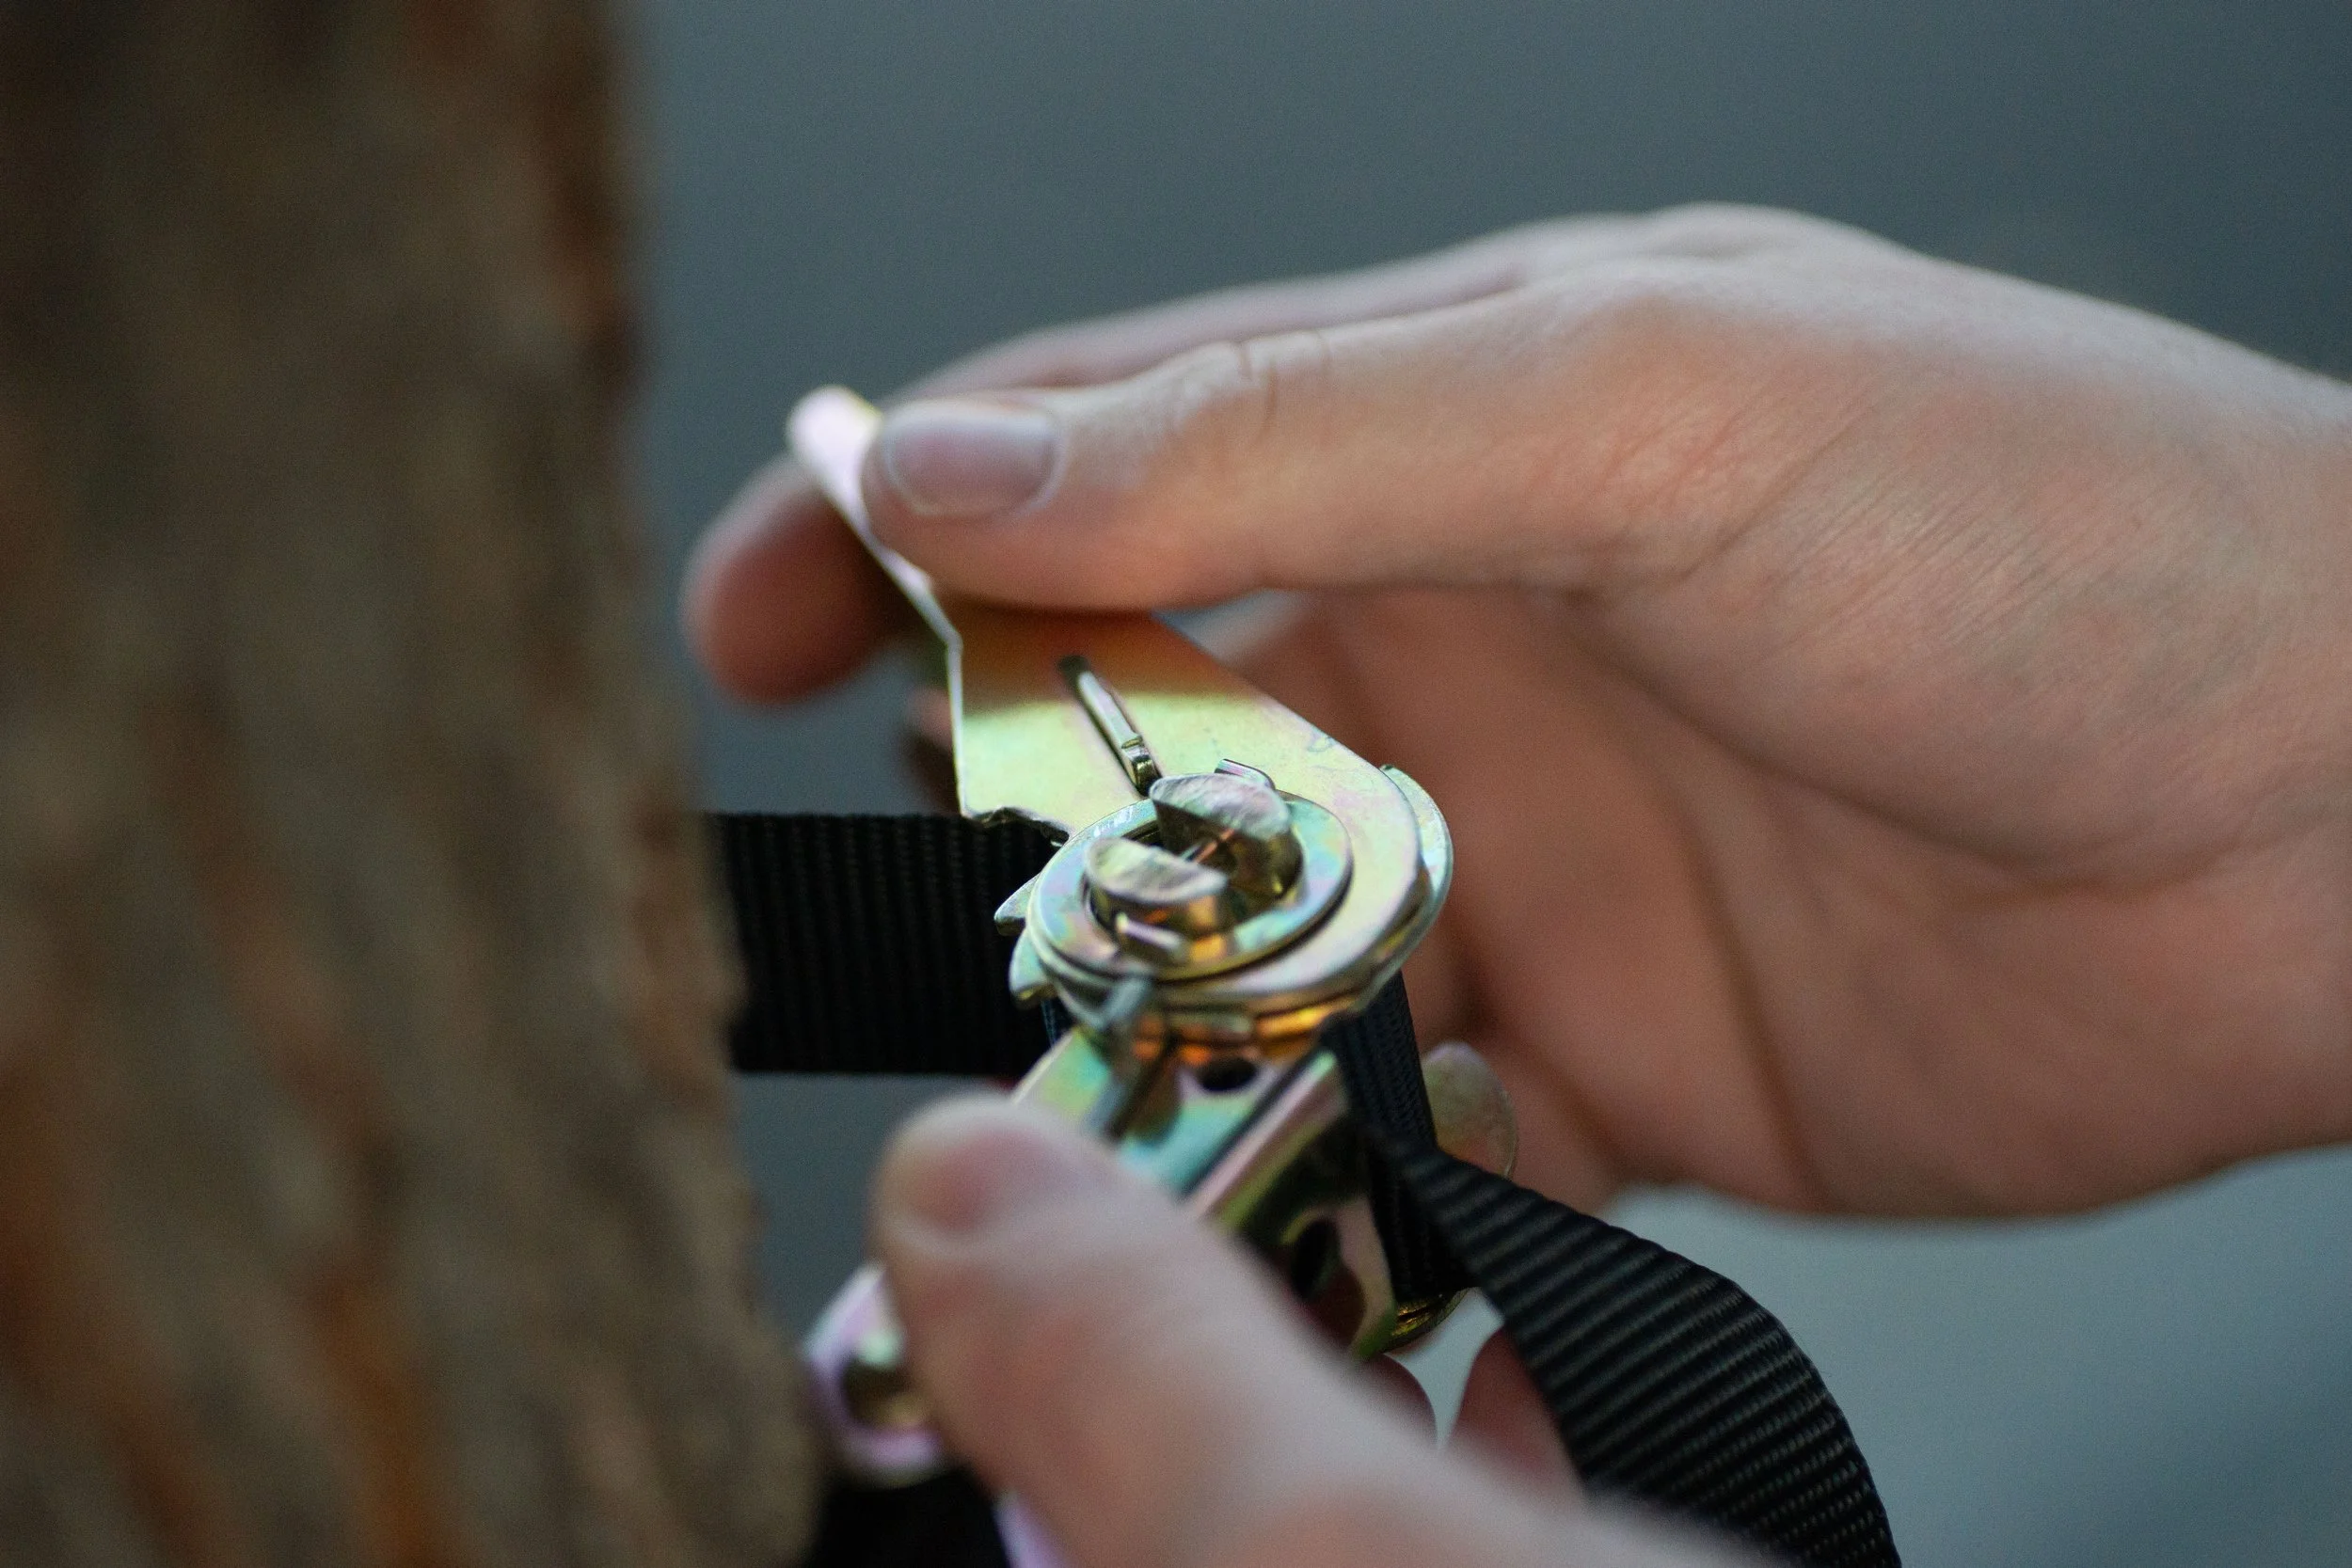
STEP 09
Crank the handle of the strap as shown in the images above until it is tight enough for the BloomBox to hang on its own.
You will see the mechanism roll up the excess strap into the frame.